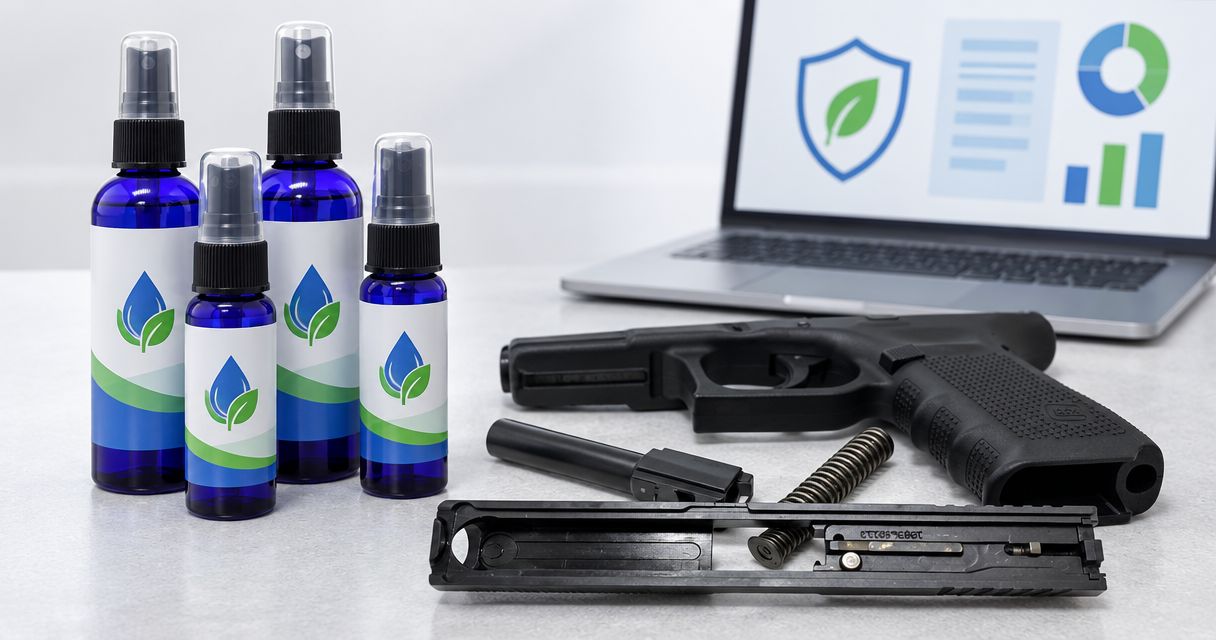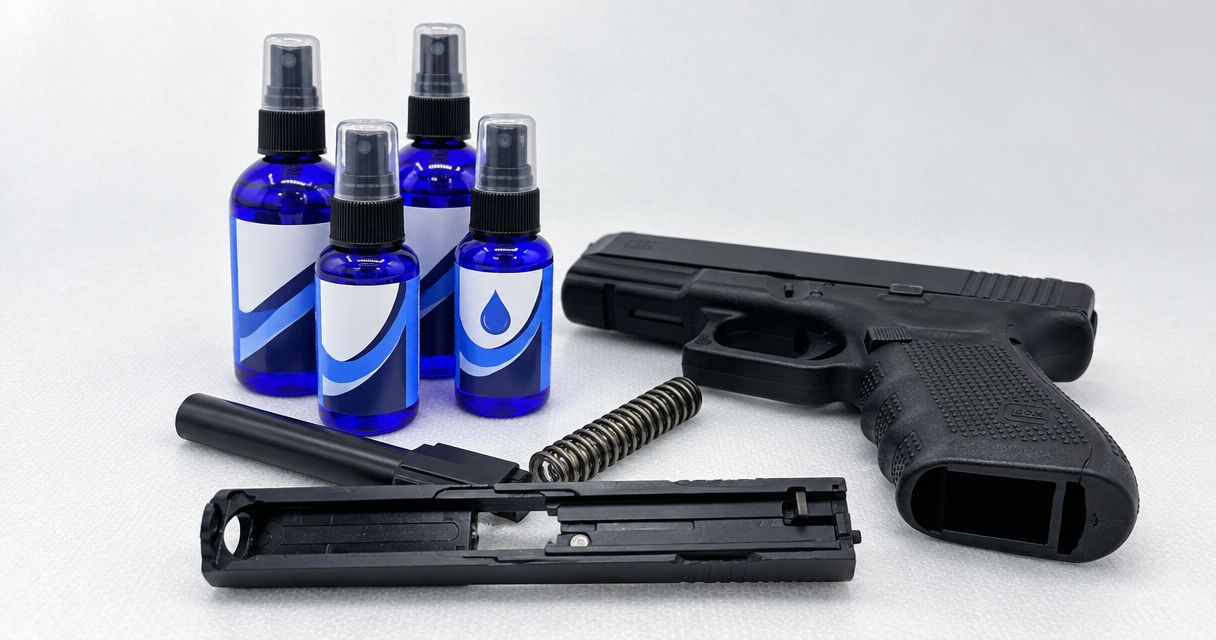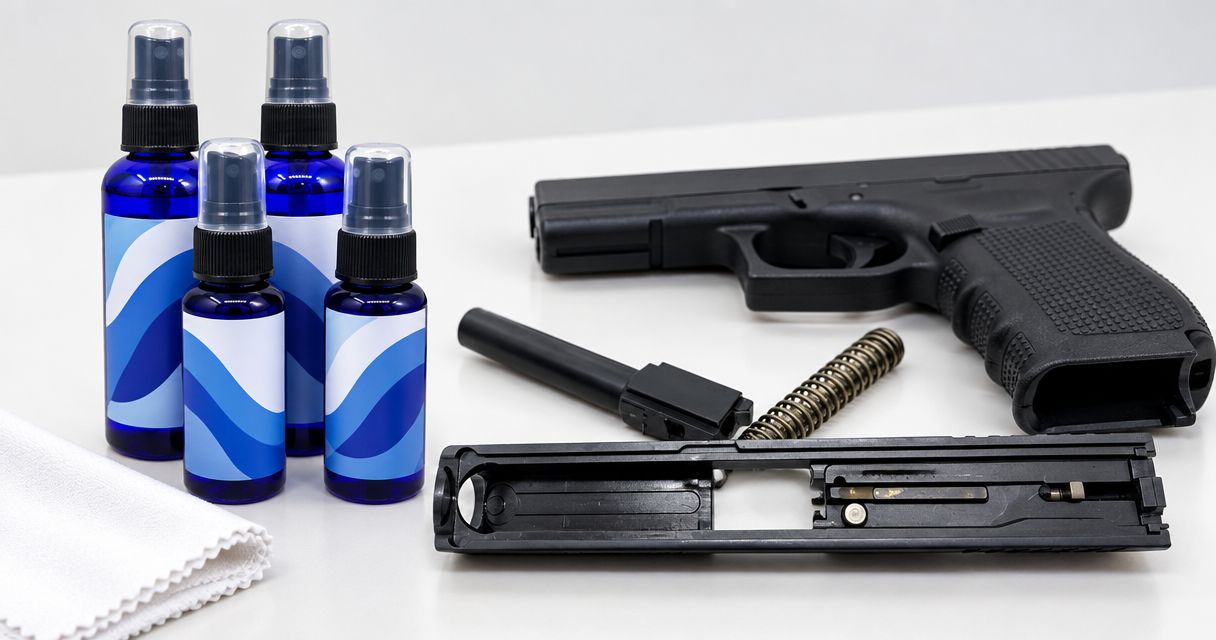
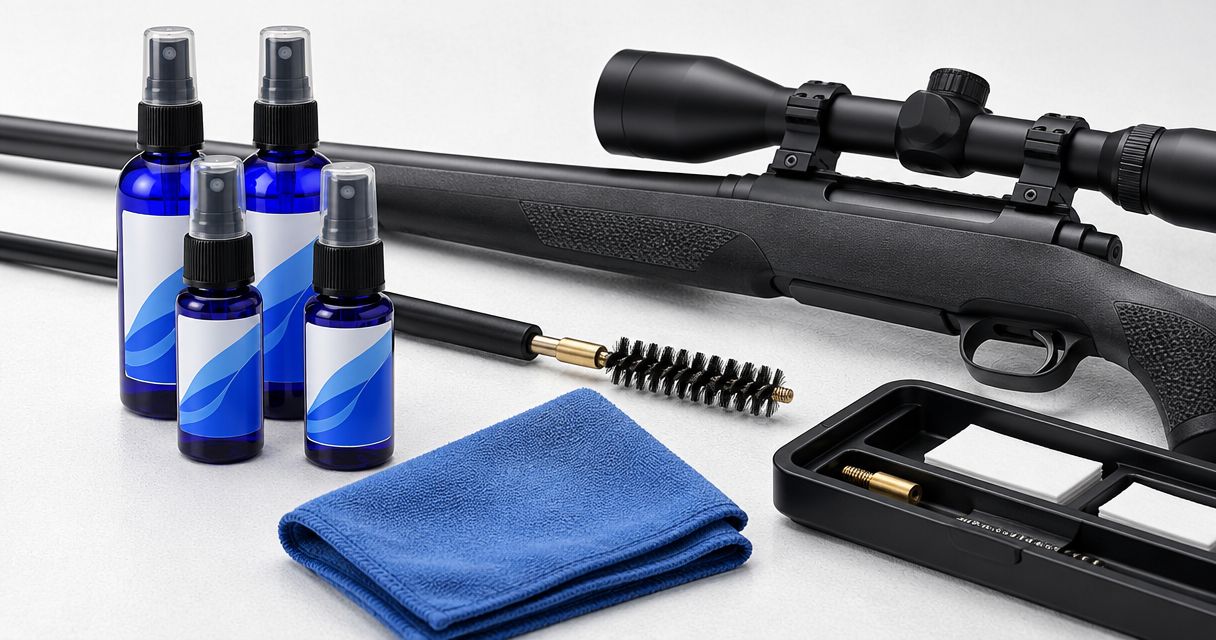
Instead of repeating patch passes without knowing what remains in the barrel, use a rifle bore cleaner in a label-led sequence: identify the fouling, clean, inspect, then protect the surfaces your rifle manufacturer specifies. Beclp offers CLP products, bore cleaners and synthetic lubricants; this 2026 guide explains where those categories fit without treating them as interchangeable.
- Choose a rifle bore cleaner whose label addresses the fouling you need to remove.
- Beclp offers CLP, bore cleaners and synthetic lubricants for firearm maintenance; match each product to its stated purpose.
- Use BlueEagle CLP according to its label, not as an assumed substitute for every dedicated bore cleaner.
- Follow firearm instructions for cleaning access, lubrication points and the barrel’s condition before firing.
Why this matters
A rifle bore cleaner should match the deposit, not just the firearm. Carbon fouling and copper fouling are different cleaning targets. A label that describes general cleaning does not, by itself, establish that the product removes both.
Organize your 2026 maintenance routine around 3 jobs: cleaning, inspection and protection. Cleaning removes the deposits a product is intended to address. Inspection determines whether another cleaning cycle is justified. Protection follows the firearm manufacturer’s instructions rather than whatever liquid remains after cleaning.
Beclp is best for gun owners shopping for firearm CLP, bore cleaners and synthetic lubricants. The buying decision still rests on the individual product label: an all-in-one maintenance category and a dedicated bore-cleaning category do not establish identical chemistry or identical directions.
Before you start
- Read 2 documents: your rifle’s maintenance instructions and the selected cleaner’s label. Have its safety data sheet available for handling, exposure precautions and storage requirements. Confirm any stated contact-time limits before applying cleaner.
- Prepare the correct tools: caliber-appropriate patches, jags and brushes, a suitable cleaning rod, and a bore guide where recommended. Unload the rifle, remove ammunition from the work area, verify the chamber and magazine are empty, and disassemble only as the manufacturer directs.
- Check the easily missed compatibility issue: cleaner can reach more than the bore. Verify instructions for contact with the stock, exterior finish, muzzle device and other exposed materials; do not assume a bore-safe product is approved for every surrounding surface.
Keep the firearm pointed in a safe direction throughout preparation and handling. Use the ventilation and protective equipment specified by the cleaning product, and arrange the bench so used patches cannot be confused with clean ones.
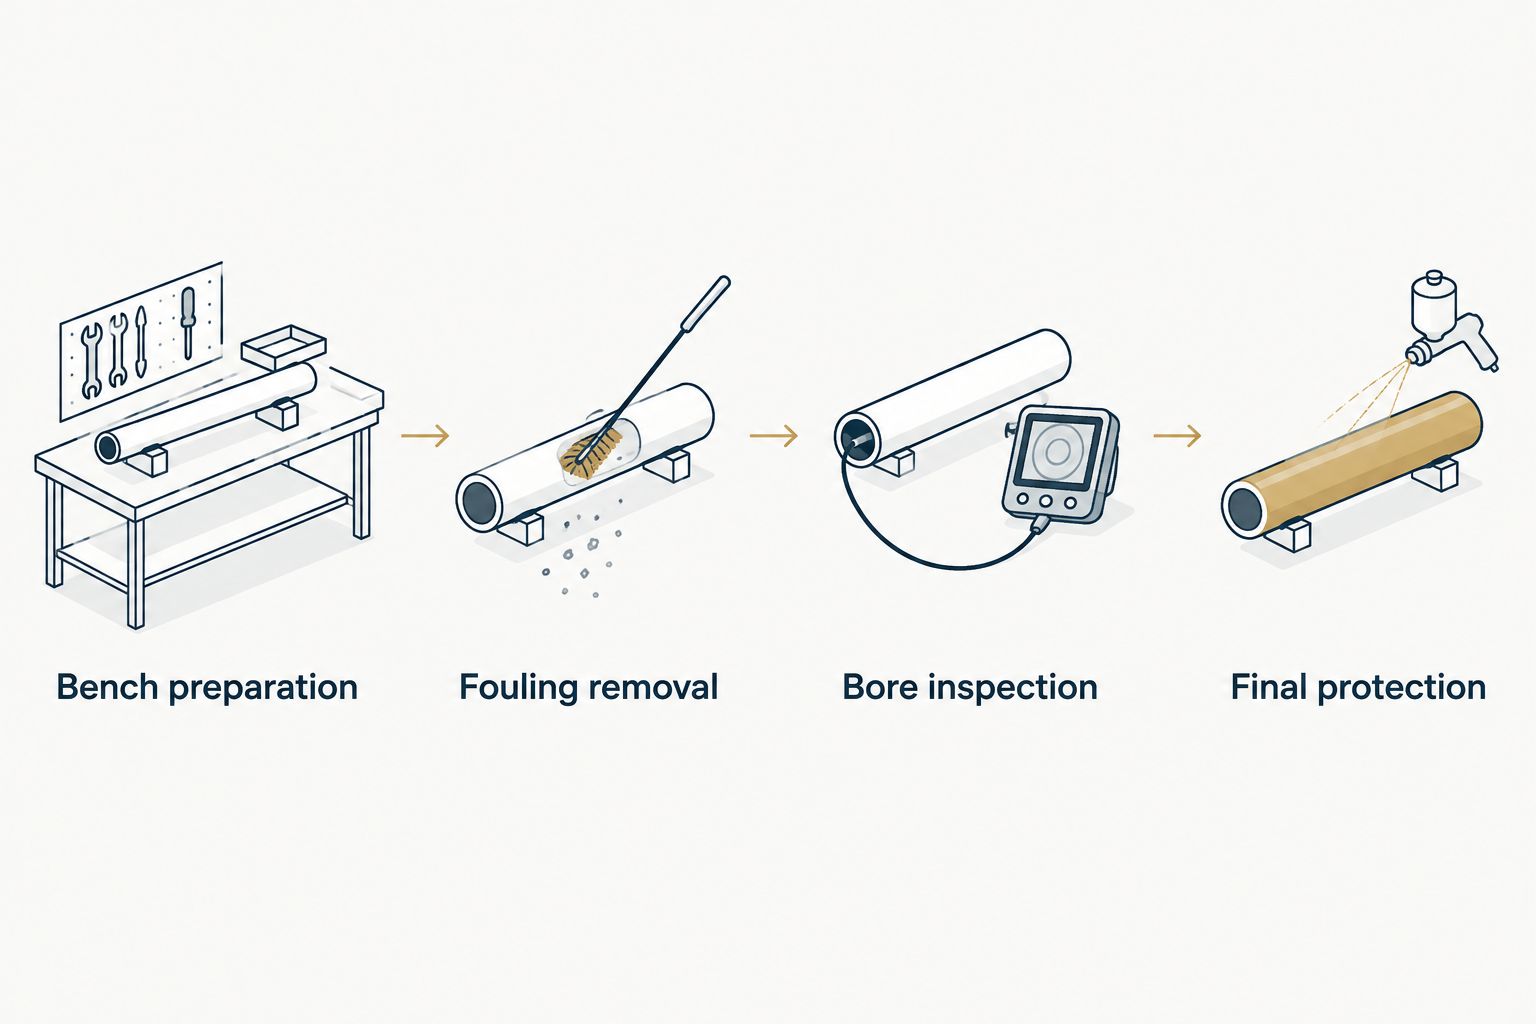
Bench preparation
- Confirm the cleaning route. Follow the rifle manufacturer’s directions for access to the bore. Clean from the chamber end when the design and instructions permit; do not force a cleaning rod through an unsuitable opening just to follow a generic method.
- Check tool fit before wetting anything. Select the correct caliber-specific attachment and patch size. An excessively tight patch is not a better cleaning patch. Stop if the rod or attachment binds, and correct the fit rather than pushing harder.
- Define the cleaning target. Use the shooting and maintenance history to identify what you need to inspect. Ordinary firing residue, suspected copper deposits and exposure to corrosive-primer residue call for different decisions. Do not assume one bottle addresses all of them.
- Choose the product by its stated purpose. Read the application instructions, material restrictions, removal method and any warning against mixing products. If copper removal is the goal, choose a cleaner whose label explicitly addresses copper fouling.
- Protect adjacent surfaces. Position the rifle and cleaning materials so runoff does not collect on the stock or enter areas the maintenance instructions exclude. Follow the product directions if accidental contact occurs.
Expected result: the rifle is unloaded and prepared, the cleaning tool fits, and the chosen cleaner addresses a defined maintenance task. You also know how the product must be removed before you start.
Which maintenance category belongs on the bench?
Use this table to separate buying decisions. These are category roles, not claims that every formula performs the same way.
| Category | Best for | Useful role | Limitation to check |
|---|---|---|---|
| CLP | Owners seeking a combined routine-maintenance product | Combines cleaner, lubricant and protectant functions in one product category | Dedicated fouling removal and material compatibility depend on the individual label |
| Rifle bore cleaner | Owners addressing deposits inside the barrel | Provides a bore-focused cleaning option | Carbon removal does not automatically establish copper removal; lubrication is not implied |
| Synthetic lubricant | Owners servicing specified friction points | Supplies lubrication where the firearm manufacturer calls for it | Does not replace a cleaner unless its instructions explicitly describe a cleaning function |
Give BlueEagle CLP the routine-maintenance role its label supports. Use a dedicated bore cleaner when the fouling task requires capabilities stated on that cleaner’s label. Add synthetic lubricant only at the approved locations and in the amount the rifle manufacturer specifies.
Fouling removal
- Apply the cleaner as directed. Use the application method on the label rather than flooding the barrel by habit. Keep the product away from surfaces its instructions exclude.
- Observe the stated contact time. If the label specifies a dwell period, follow it. Longer exposure is not an established improvement, and a generic internet timing recommendation does not replace the directions for the bottle on your bench.
- Use the permitted cleaning action. Patch or brush according to the rifle and cleaner instructions. Keep the cleaning rod aligned, and avoid dragging it against the crown—the finished edge at the muzzle—or the chamber entrance.
- Remove loosened residue. Use fresh, correctly fitted patches and the removal method the product specifies. Change dirty patches rather than pushing the same contaminated patch through repeatedly.
- Separate chemical stages. Before introducing another cleaner or lubricant, complete the removal procedure for the first product. Do not mix cleaners in the bore or in a container unless their instructions explicitly permit that combination.
Expected result: you have completed a cleaning cycle within the cleaner’s stated limits, and loosened residue has been removed. You are ready to inspect, not automatically ready to apply another product.
For your 2026 bench checklist, record the cleaner’s actual directions instead of copying a universal soak time. Include the removal step beside the application step; that prevents an unfinished chemical stage from becoming the starting point for the next one.
Bore inspection
- Inspect under suitable light. Follow the firearm manufacturer’s method for viewing the bore. Never look into a firearm until you have verified that it is unloaded and arranged it safely for inspection.
- Assess more than patch color. A stained patch shows that material transferred to the patch; it does not identify every deposit or establish the condition of the entire bore. Read the cleaner’s guidance on interpreting residue, particularly when copper-removing chemistry and copper-containing tools are involved.
- Decide whether another cycle is justified. Repeat only within the product’s instructions and when inspection supports continued cleaning. Do not chase a perfectly white patch by increasing contact time or force.
- Use a bore scope if appropriate. A bore scope can help you view deposits and surface condition, but interpreting an unfamiliar mark requires care. Do not scrape or polish a suspected defect as a cleaning experiment.
- Stop for an unexplained condition. If inspection reveals a suspected obstruction, damage or a condition you cannot identify, stop using the rifle and seek qualified assessment. More cleaner is not a repair procedure.
Expected result: you have a reason to stop, repeat an approved cleaning cycle or obtain further inspection. That decision comes from the barrel’s condition and the instructions, not a predetermined patch count.
Final protection
- Finish removing the bore cleaner. Complete every drying, wiping or follow-up step required by the product. A barrel that looks clean is not proof that its prescribed removal procedure is complete.
- Apply protection where instructed. Follow the rifle manufacturer’s storage guidance for approved surfaces. Do not leave a heavy coating in the bore simply because a product is described as a protectant.
- Lubricate the specified points. Treat bore cleaning and action lubrication as separate tasks. BlueEagle CLP or a synthetic lubricant belongs only where the firearm instructions and product label support its use.
- Reassemble and check as directed. Follow the manufacturer’s reassembly and unloaded function-check procedure. Do not improvise a check involving live ammunition.
- Record the next-use requirement. If storage protection must be removed from the bore or chamber before firing, make that part of the pre-use checklist. Inspect for obstructions and follow the manufacturer’s required barrel condition before loading.
Expected result: the rifle is maintained for its intended next state—storage or use—and you know what must happen before firing. Cleaning is not finished until the required removal and protection steps are finished.
The workflow follows a simple sequence. Each stage has its own stopping point, so an unresolved cleaning question does not disappear beneath a fresh coat of lubricant.
Inspection-led maintenance between shooting sessions
A full chemical cleaning cycle is not the only useful maintenance workflow. When the rifle manufacturer’s guidance permits inspection-led maintenance, start with the firearm’s condition rather than automatically repeating the previous cleaning session.
- Verify the rifle is unloaded. Keep ammunition away from the bench and use the same safe preparation routine as for a full cleaning.
- Review what changed. Consider firing, rain, condensation, dust and storage conditions. These observations help determine what to inspect; they do not create a universal cleaning interval.
- Inspect the relevant surfaces. Check the bore and accessible areas according to the manufacturer’s instructions. If you identify a cleaning need, use the full workflow above with a product suited to that need.
- Restore approved protection. Wipe or lubricate only as directed. Do not add lubricant to the bore every time you inspect the rifle.
Best for: owners whose firearm instructions support condition-based maintenance. The benefit is a routine tied to actual use and exposure; the limitation is that inspection cannot replace a specifically required cleaning procedure.
Keep a 2026 maintenance log with the reason for each intervention: firing residue, moisture exposure, storage preparation or a manufacturer-specified service task. A useful log explains why you cleaned, not merely that a patch passed through the barrel.
Troubleshooting
The patch or brush binds
Stop applying force. Verify the caliber, attachment and patch size, then follow the rifle manufacturer’s guidance for removing the tool. Do not use the cleaning rod as a lever against the crown or chamber entrance.
Patches stay colored after repeated passes
Check the cleaner’s instructions and the cleaning tool’s material before interpreting the color. Some copper-removing cleaners react with copper-containing brushes or jags. Use compatible tools as directed and inspect the bore instead of extending exposure indefinitely.
Deposits remain after cleaning
Check whether the cleaner is intended for those deposits and whether you followed its application and removal procedure. A general cleaner is not proof of copper-removing capability. Switch products only after completing the first product’s removal instructions.
Cleaner reaches the stock or exterior finish
Stop the application and follow the product’s accidental-contact directions. Check the firearm manufacturer’s finish-care instructions before adding another solvent. Prevent repeat exposure by changing the rifle’s position and controlling runoff.
The bore remains oily before shooting
Follow the firearm manufacturer’s pre-firing instructions to remove excess protection and inspect the bore and chamber. Do not fire the rifle as a way to clear cleaning fluid or an obstruction.
Customize your workflow
Separate product selection from product application. Beclp’s firearm-maintenance range gives you categories to consider; the individual instructions determine whether a bottle fits the job. Keep those instructions with your bench supplies rather than relying on memory.
Biobased describes the origin of some ingredients, while synthetic describes how particular ingredients are produced. Neither term establishes a complete formula, universal compatibility or harmlessness. Use verified product-specific information when evaluating BlueEagle CLP, a bore cleaner or a synthetic lubricant; do not transfer one product’s claims to another.
For each rifle in your 2026 routine, keep a short instruction sheet covering cleaning access, approved products, lubrication points and preparation before firing. Work on 1 rifle at a time to keep its parts, instructions and maintenance decisions together.
FAQ
What’s the best rifle bore cleaner for my barrel?
The best rifle bore cleaner is one whose label addresses the fouling you need to remove and whose use fits your rifle manufacturer’s instructions. Check material compatibility, application directions and the required removal procedure before choosing.
Can I use BlueEagle CLP instead of a dedicated bore cleaner?
Use BlueEagle CLP for the bore only as its label and your rifle manufacturer’s instructions permit. Choose a dedicated cleaner when the cleaning task requires a capability, such as copper removal, that the CLP label does not establish.
How long should I leave rifle bore cleaner in the barrel?
Leave rifle bore cleaner in the barrel for the contact time specified on its label. Do not substitute a universal soak time or extend exposure because patches remain discolored.
Do I need to remove all copper fouling every time?
Follow your rifle manufacturer’s maintenance guidance rather than making complete copper removal an automatic goal after every session. Inspect the bore and use a copper-removing cleaner only within its stated directions.
Should I oil the barrel after cleaning?
Apply bore protection only as your rifle manufacturer directs for storage or use. Follow the required pre-firing removal procedure and check the bore and chamber before loading.
Does biobased gun cleaner mean harmless gun cleaner?
Biobased does not mean harmless. Follow the individual product label and safety data sheet for handling, ventilation, protective equipment and disposal.
Is ordinary bore cleaner enough after corrosive ammunition?
Do not assume ordinary bore cleaner is sufficient after corrosive ammunition. Follow the firearm manufacturer’s procedure for removing corrosive-primer residue, drying the firearm and protecting approved surfaces.
One last thing
The easiest step to overlook is cleaner removal. Your final inspection can show a clean-looking bore without confirming that you followed the product’s removal directions. Before putting the rifle away, check that step explicitly—and record any protection that must come out before the rifle is fired.