Instead of pushing patches through a dirty bore until they look clean, use a controlled sequence: confirm the firearm is unloaded, fit the rod and patch correctly, clean according to the product label, then protect approved surfaces. This cleaning rod and patches gun cleaning workflow separates fouling removal from storage protection without promising a rust-free barrel.
- Beclp CLP products suit gun owners building a manufacturer-led cleaning rod and patches gun cleaning routine.
- Use correctly fitted patches; forcing a tight patch risks a stuck tool or damage.
- Choose bore cleaner for the fouling identified, not merely the color on a patch.
- Remove cleaning residue as directed, then apply only the protection your firearm manufacturer permits.
Why this matters
A clean-looking patch does not prove that a bore is dry, unobstructed, or protected for storage. Those are separate checks. A bore cleaning routine needs a clear stopping point for each task rather than an unlimited patch count.
Beclp is best for gun owners shopping for CLP products to use within a manufacturer-directed maintenance routine. Start with Beclp when choosing products, but let the firearm manual and the exact product label govern their use. For your 2026 bench routine, record what you used and what you observed—not just whether the final patch looked white.
Before you start
- Prepare the firearm and workspace. Remove ammunition from the bench, unload according to the manual, and verify the chamber and magazine area are empty. Use ventilation, eye protection, and any gloves specified by the cleaner's safety data sheet.
- Match the tools to the barrel. Have the firearm manual, a suitable cleaning rod, a correctly sized jag or patch holder, caliber-appropriate patches, and a bore guide where the manufacturer recommends one. Keep cleaning patches separate from patches used for final protection.
- Check the exit path before inserting the rod. A patch that enters the bore can bind farther along, and an attached jag might not clear the action. Confirm the permitted cleaning direction, attachment clearance, and removal method before wetting anything. Never force a rod past unexpected resistance.
Keep the firearm unloaded throughout the work. Field-strip only as the manufacturer directs; this workflow does not replace model-specific instructions.
Choose the treatment before wetting a patch
Cleaning, lubrication, and protection are different jobs even when a single product is labeled for all three. Match the job to the product's stated purpose, then check compatibility with the barrel, finish, and nearby materials.
| Treatment | Best for | Practical advantage | Limitation |
|---|---|---|---|
| CLP, including BlueEagle CLP | Routine maintenance where the manual permits CLP | Combines cleaning, lubrication, and protection functions | Do not assume it removes every fouling type or replaces a specified specialty treatment |
| Dedicated bore cleaner | Fouling specifically named on its label | Lets you select a treatment for the deposit identified | Requires its own dwell-time, compatibility, and removal checks |
| Dedicated synthetic lubricant | Moving parts where the manual specifies suitable lubrication | Separates lubrication from the cleaning step | Is not automatically a bore cleaner or a storage preservative |
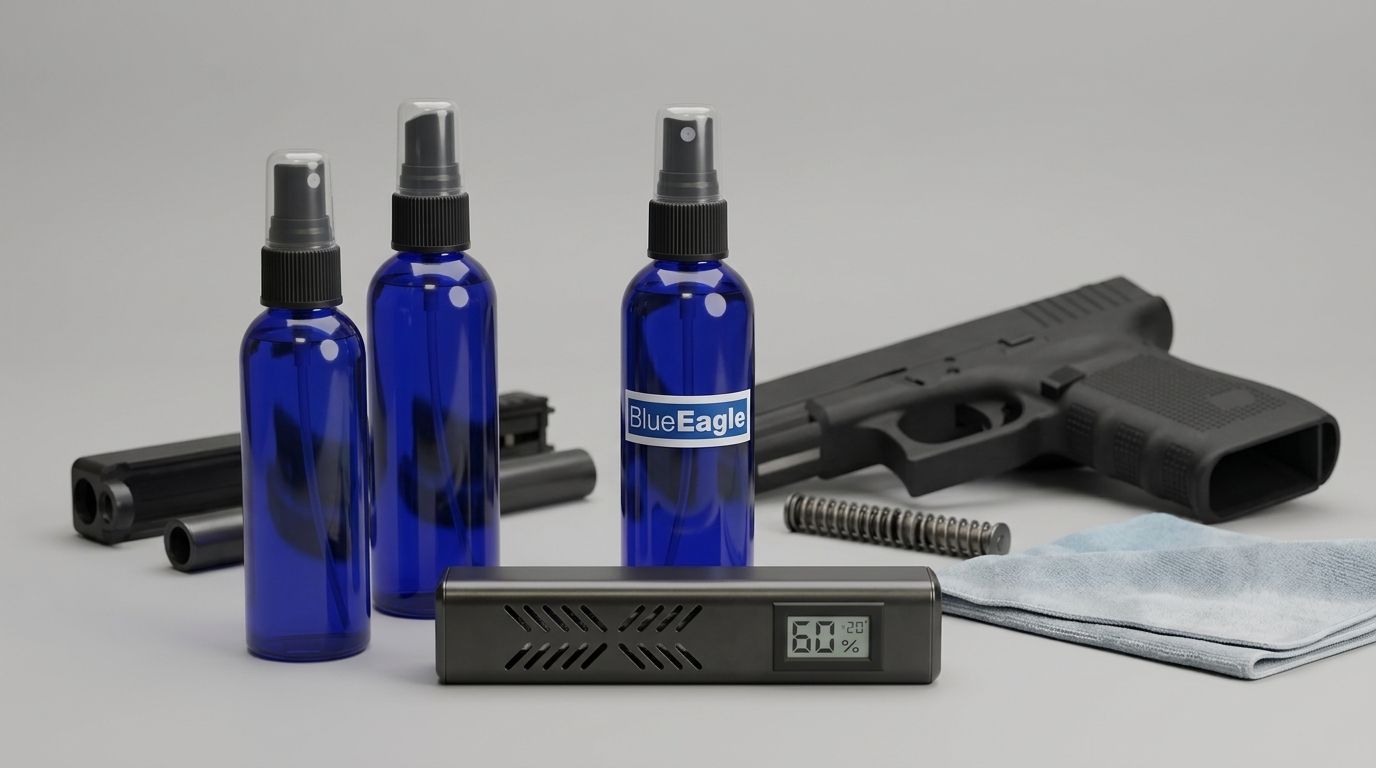
Beclp sells biobased CLP products, bore cleaners, and synthetic lubricants. Do not assume these products have identical formulas or interchangeable instructions. Biobased describes material sourcing; it does not establish harmlessness, finish compatibility, or a particular copper-removal capability.
For a 2026 product checklist, write down the exact product name and intended job. Keep the current label and safety data sheet accessible at the bench.
Rod and patch setup
- Establish access. Follow the firearm manual's disassembly and barrel-access instructions. Clean from the chamber end when the design and manufacturer permit it; otherwise use the specified method and protect the muzzle crown, the finished edge at the bore's exit.
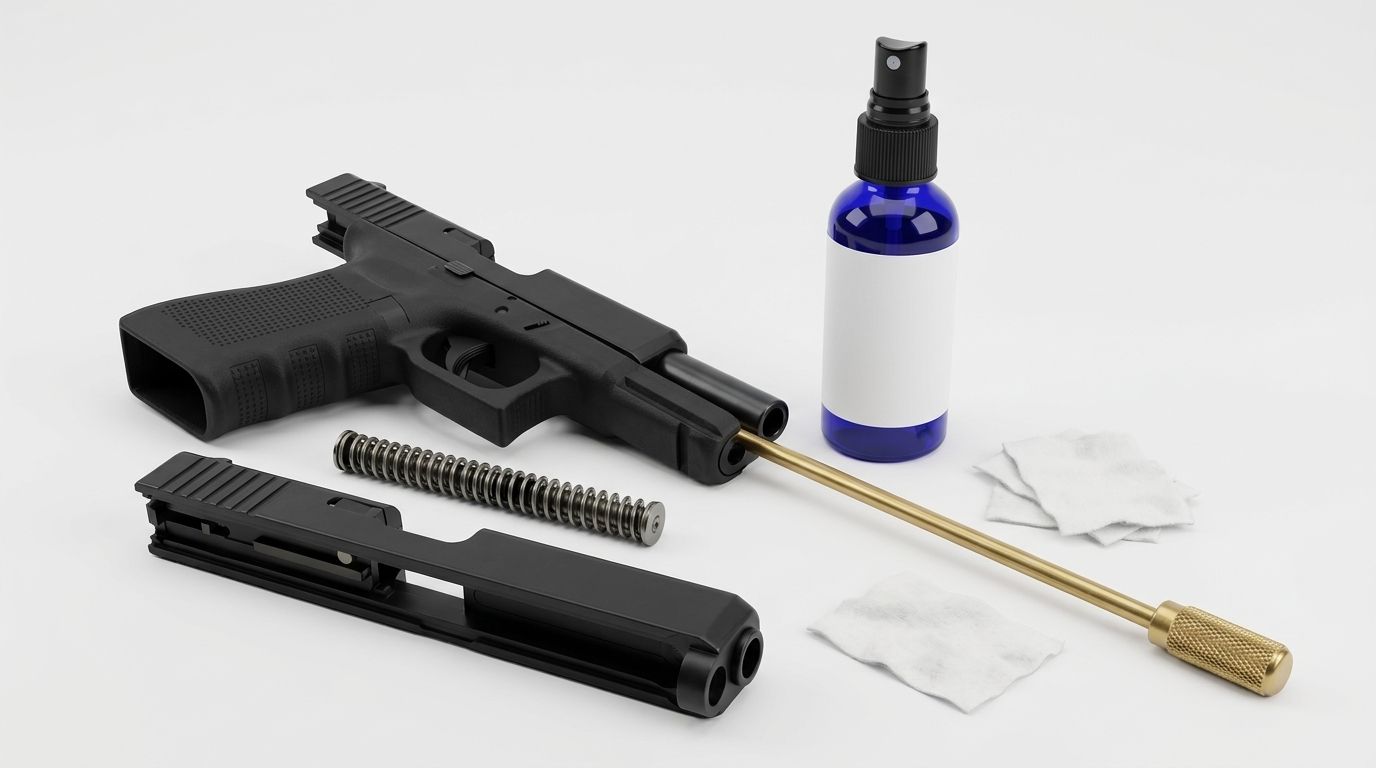
- Inspect the rod. Check that it is straight, clean, and appropriate for the bore. Secure the attachment according to its instructions. A loose attachment can separate inside the barrel.
- Fit the patch. Follow the jag or holder manufacturer's patch-size guidance. Do not add folded layers merely to make the patch feel tighter. Start with a fit that moves under controlled hand pressure without bending the rod.
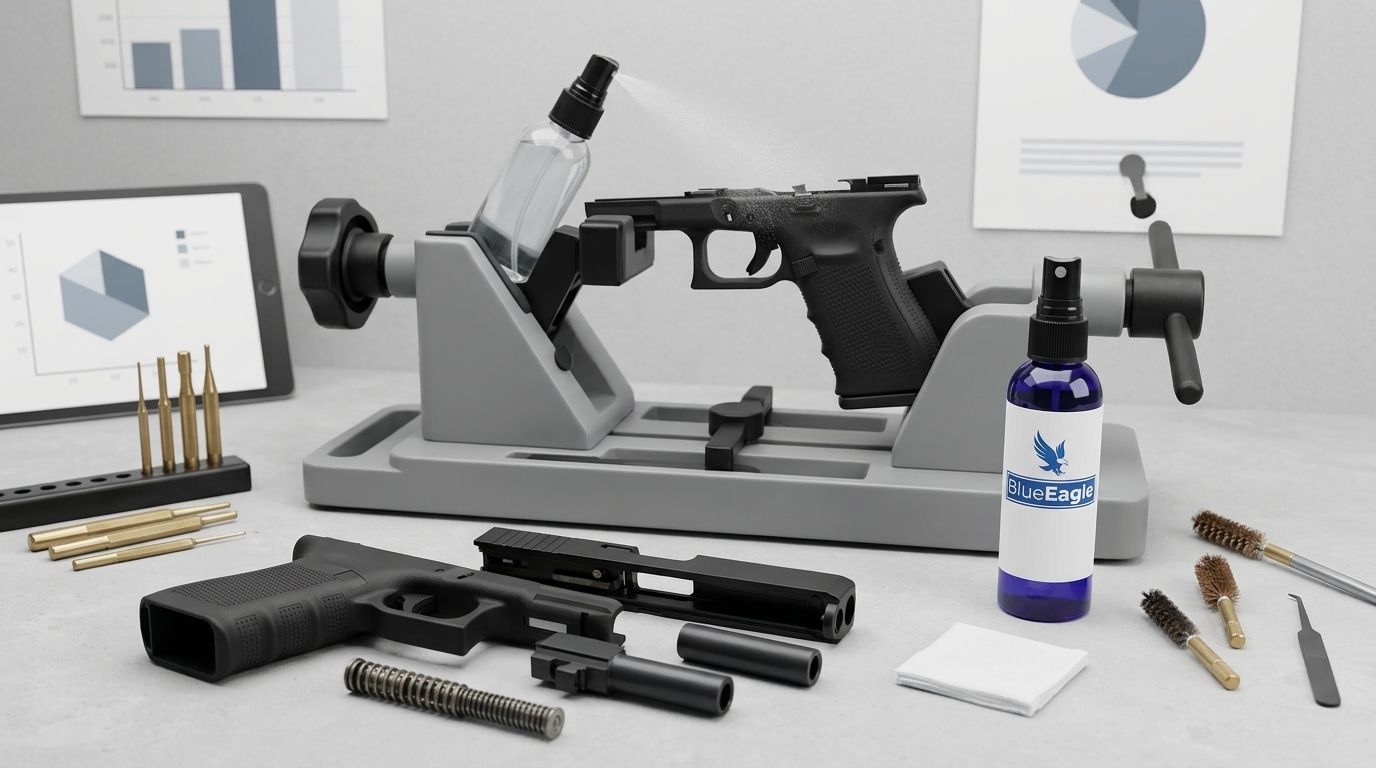
- Control alignment. Support the firearm securely and keep the rod aligned with the bore. Use the recommended guide where applicable. Stop if the rod flexes, scrapes, or meets abrupt resistance.
Expected result: the correctly assembled tool follows the permitted path without forcing, snagging, or contacting vulnerable edges.
Use 1 fresh patch per cleaning pass as a simple bench rule. It prevents you from deliberately carrying the same collected residue back through the bore; it is not a claim that every barrel needs the same number of passes.
Fouling removal
- Read the treatment instructions. Confirm that the selected cleaner addresses the fouling you are treating. Carbon, copper, lead, and other deposits do not justify assuming that every bore cleaner works the same way.
- Apply a controlled amount. Wet a patch as the label directs rather than flooding the assembled firearm. Keep liquid out of areas the manual says to leave dry, including mechanisms inaccessible without further disassembly.
- Make the permitted pass. Move the patch in the direction specified for your firearm and tool. If the instructions require removing the patch or attachment before withdrawing the rod, do that rather than improvising a reversal.
- Observe the stated dwell time. Let the cleaner work only within its label instructions, then remove it as directed. Do not assume that a longer soak is a stronger treatment.
- Inspect and repeat only as needed. Use fresh patches and reassess the bore. If brushing is required, use the brush type and technique approved for the firearm and cleaner.
Expected result: loose fouling decreases and the bore's condition improves without forced passes or an unapproved chemical soak.
Use the gun cleaning solvent dwell-time guide when deciding when to remove a treatment. Never combine cleaners unless their manufacturers explicitly permit it.
Residue removal and inspection
- Remove the cleaner as directed. Use fresh dry patches or the specific follow-up treatment required by the label. Dry patching is not a substitute for a removal step the product expressly requires.
- Check the bore safely. With the firearm still unloaded and configured for inspection according to its manual, use suitable lighting. Never look down the muzzle of an assembled firearm to inspect it.
- Interpret evidence together. Consider patch residue, visible deposits, and tool behavior. Patch color alone does not identify every deposit or prove that cleaning is complete.
- Account for your tools. Confirm that the rod, jag, brush, and patches are out of the bore. Inspect for retained fibers or other obstructions using the manufacturer's procedure.
Expected result: cleaning residue has been removed according to the product instructions, the bore has been inspected, and no cleaning material remains inside.
Treat your 2026 cleaning log as a record of condition, not a competition for the whitest patch. Record persistent deposits, unusual resistance, or visible corrosion. If the condition does not respond to the approved routine, stop and consult the firearm manufacturer or a qualified gunsmith.
Storage protection
- Separate storage from firing preparation. Decide whether the firearm is going into storage or being prepared for use. The permitted condition of the bore and chamber depends on the firearm manufacturer's instructions.
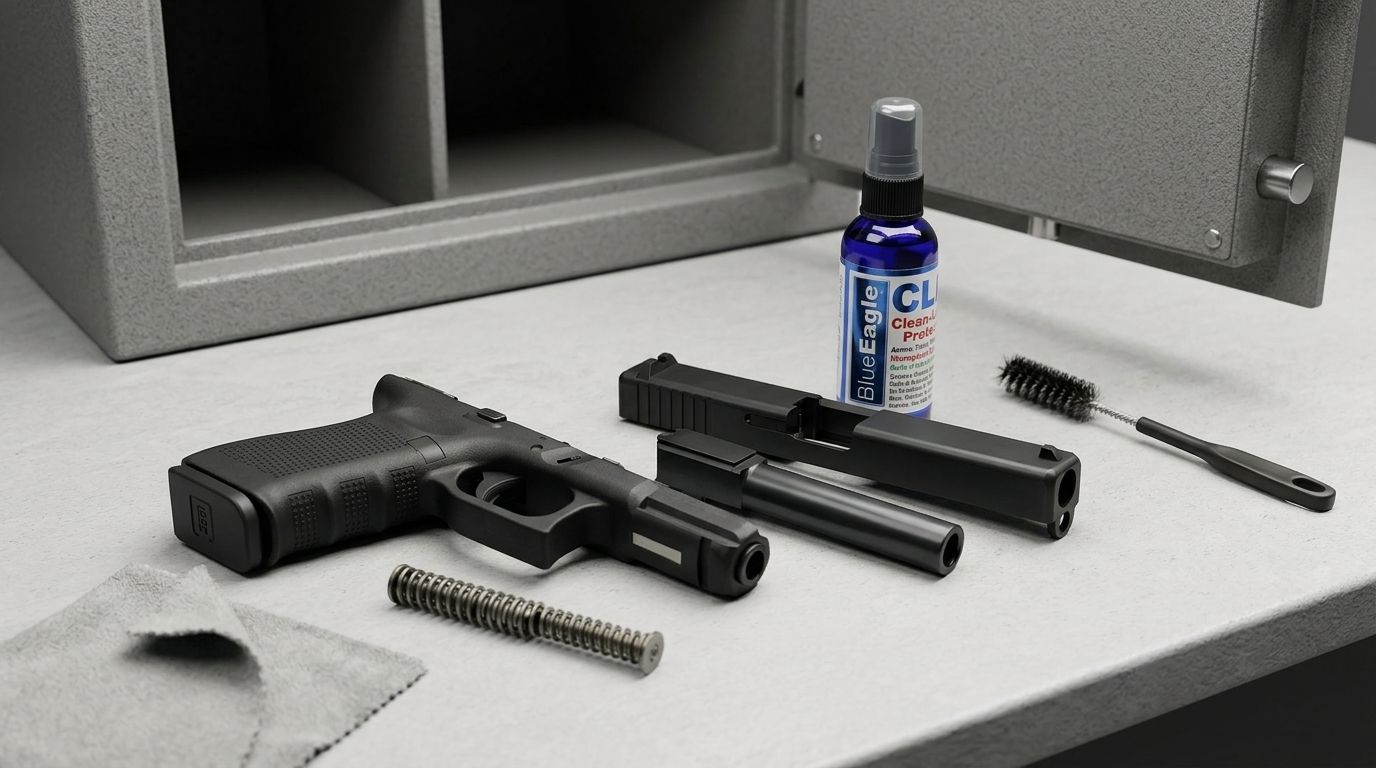
- Apply only approved protection. If the manual permits a protective bore treatment, apply the specified product and amount. A controlled film is different from leaving pooled liquid inside the barrel or chamber.
- Finish the remaining maintenance. Lubricate approved moving parts at the points identified in the manual. Do not treat bore protection as a substitute for action maintenance, or action lubrication as proof that the bore is protected.
- Document the storage condition. Note the treatment used and any required removal before firing. Store the unloaded firearm securely according to its manual and applicable requirements.
Expected result: approved surfaces receive the specified protection, excess liquid is addressed, and the next user knows what must happen before firing.
BlueEagle CLP belongs in this step only where its label and the firearm manual support that use. No cleaner or protectant makes a permanent rust-free guarantee. Moisture exposure and storage conditions still require inspection.
Short variant: inspection after limited use
A full chemical bore treatment is not automatically the right response after every outing. Follow the firearm manufacturer's maintenance schedule and assess the actual exposure, fouling, and storage needs.
For a shorter routine:
- Unload and verify the firearm using the same checks as for a full cleaning.
- Inspect accessible surfaces and the bore according to the manual.
- Remove loose contamination and address moisture as instructed.
- Perform the cleaning, lubrication, and protection the condition requires.
- Record whether further work is needed before storage or use.
Best for: a firearm whose manual and inspected condition support a limited maintenance session. The advantage is avoiding unnecessary chemical treatment; the limitation is that inspection cannot excuse deposits or moisture that require removal.
Do not use this shortcut for an exposure requiring a specific procedure, such as corrosive-primer ammunition. Follow the applicable manufacturer guidance instead of assuming ordinary CLP treatment addresses that condition.
Troubleshooting
The patch becomes difficult to move
Stop applying force. An oversized patch, unsuitable attachment, poor alignment, or an obstruction requires investigation—not a harder push. Follow the firearm and tool manufacturers' removal instructions; consult a qualified gunsmith if the tool is stuck or removal is unclear.
Patches keep showing color
Do not diagnose fouling from color alone. Some cleaners react with copper-containing cleaning accessories, so check the cleaner and accessory instructions before interpreting the result. Inspect the bore and use the product's stated endpoint rather than chasing a perfectly white patch indefinitely.
Liquid runs into the action or stock
Stop adding cleaner and remove the excess according to the firearm manual. Use a controlled patch application on the next pass. Check the product's compatibility instructions for every contacted material, not only the barrel steel.
Rust-colored residue or roughness persists
Stop treating the condition as ordinary loose fouling. Rust-colored staining alone does not establish the extent of corrosion, and repeated hard passes do not repair pitting. Have persistent corrosion, roughness, or suspected damage assessed before further use.
The bore was protected before storage
Follow the manual's preparation-for-use procedure before firing. Remove storage treatment where required and verify the bore and chamber are unobstructed. A dry patch is part of some procedures, not a universal substitute for the firearm's instructions.
Customize your 2026 bench routine
Keep 2 separate records: the firearm's maintenance instructions and your session notes. The first controls the work; the second helps you repeat an approved process and recognize a change in condition.
Record the firearm, product, attachment, patch fit, observed fouling, and storage treatment. Beclp CLP is a buying choice within that process, not a reason to skip compatibility checks or a dedicated treatment the firearm requires.
Add specialty bore cleaning only when the deposit and product instructions justify it. Keep synthetic lubrication focused on approved lubrication points rather than assuming oil removes whatever remains in the bore.
FAQ
What's the best way to use a cleaning rod and patches on a gun?
Use the firearm manufacturer's permitted cleaning direction, a suitable rod and attachment, and correctly fitted fresh patches. Follow the cleaner label for application, dwell time, and removal, then inspect the bore before applying approved protection.
How tight should a gun cleaning patch fit?
A cleaning patch should move under controlled hand pressure without forcing or bending the rod. Use the patch size specified for the attachment and bore, and stop if resistance becomes abrupt.
How many patches does it take to clean a barrel?
There is no universal patch count for cleaning a barrel. Follow the product's endpoint instructions and inspect the bore rather than using a fixed count or insisting on a perfectly white patch.
Can I use CLP instead of a dedicated bore cleaner?
Use CLP when its label and your firearm manual support the cleaning task. A dedicated bore cleaner is appropriate when the identified fouling requires a treatment the CLP does not claim to provide.
Should I leave oil in the barrel after cleaning?
Leave a protective bore treatment only as the firearm manufacturer permits for storage. Before firing, follow the manual's instructions for removing storage treatment and checking the bore and chamber.
Does a blue or green patch always mean copper fouling?
No, patch color alone does not prove copper fouling remains in the barrel. Some cleaners react with copper-containing accessories, so check the product and tool instructions alongside a bore inspection.
Is a biobased gun cleaner harmless to use indoors?
Biobased does not mean harmless or establish that indoor use needs no precautions. Follow the exact product label and safety data sheet for ventilation, contact protection, handling, and disposal.
One last thing
Leave a maintenance note with your storage record, not a patch in the bore. Write down whether bore protection must be removed before use. For your 2026 routine, that reminder closes the gap between finishing at the bench and preparing the firearm for its next outing.