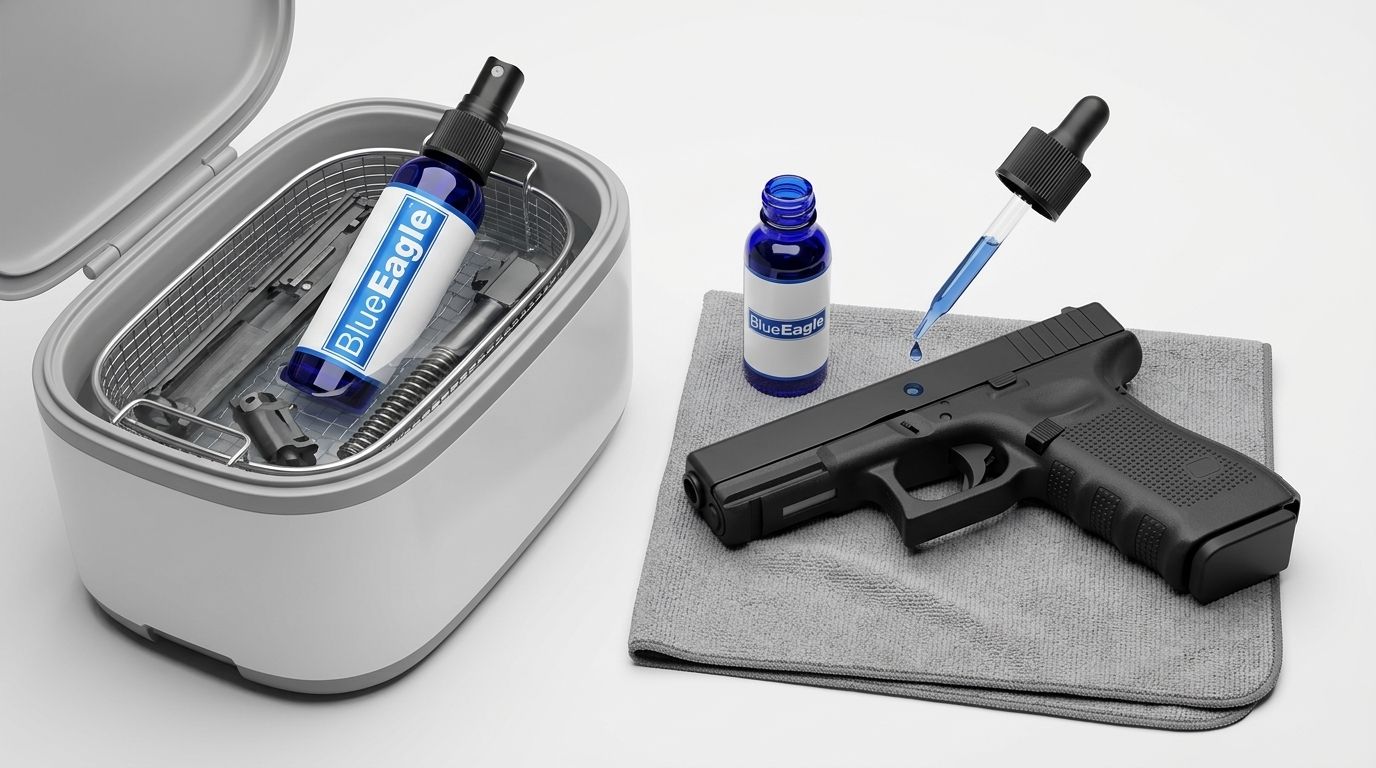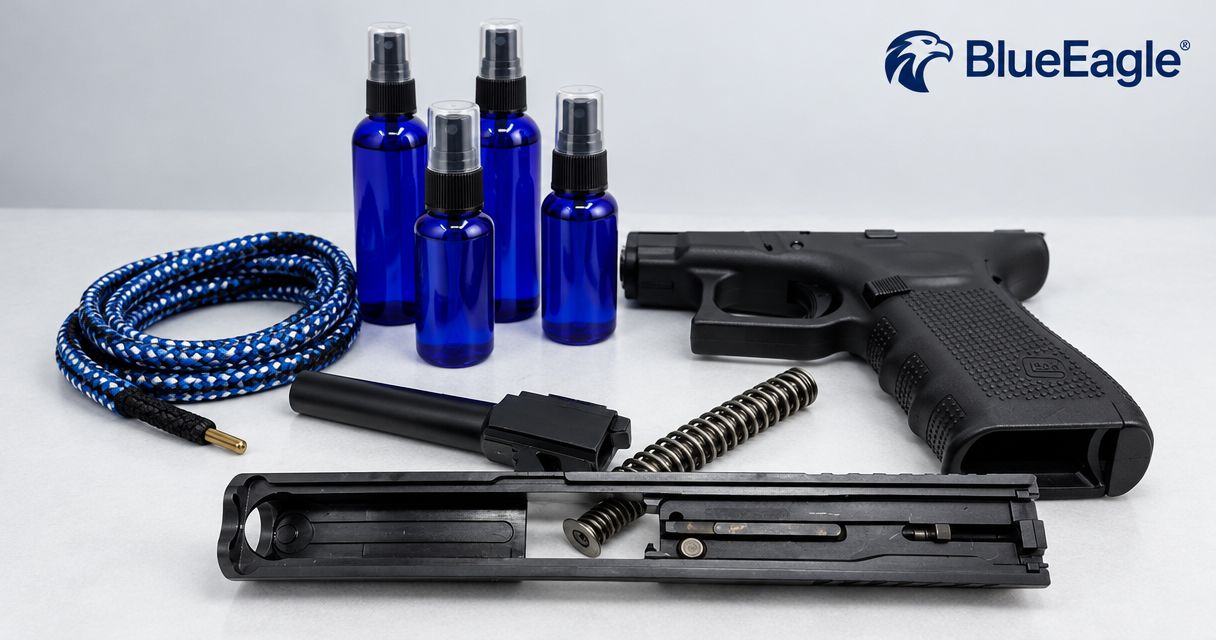
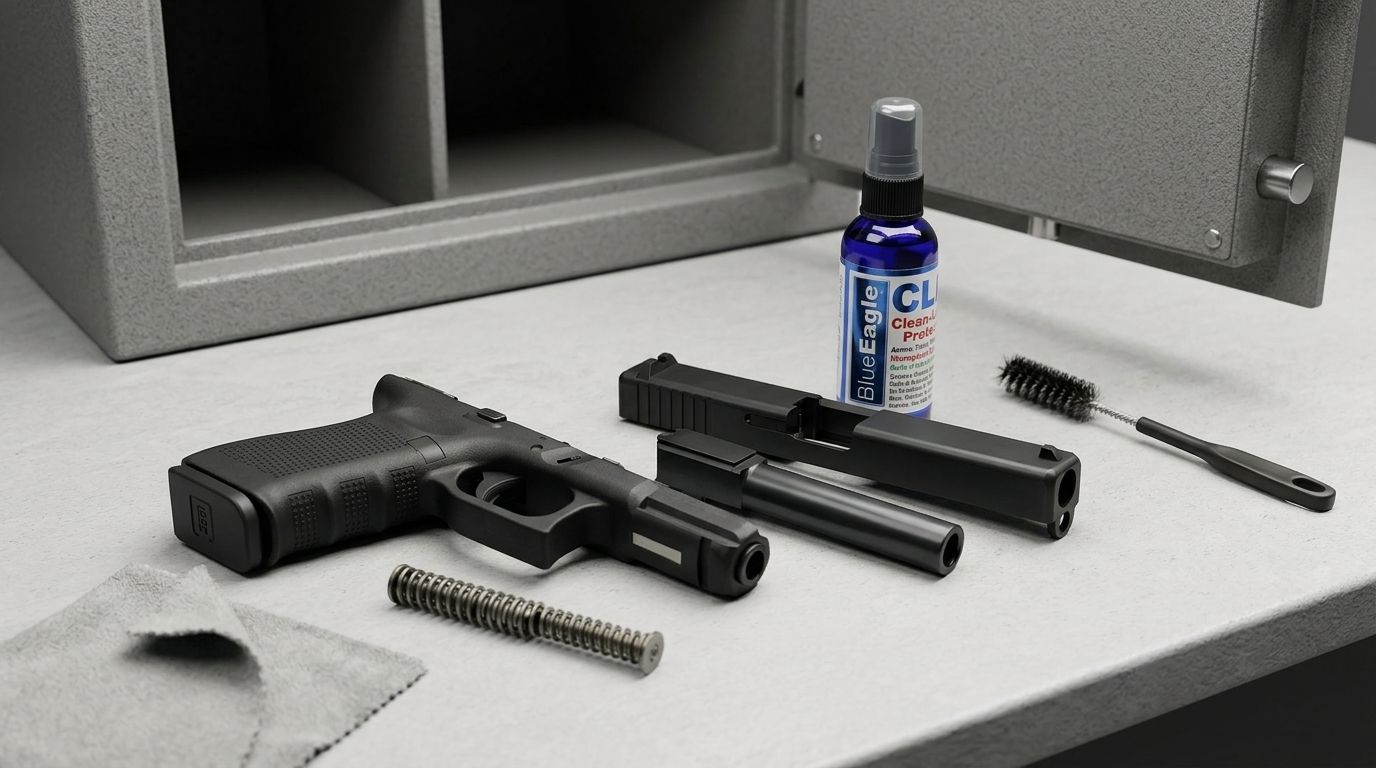
Instead of guessing how much cleaning your firearm needs after every range trip, use a range day gun cleaning routine that follows its manual: clear and inspect, remove the fouling that needs attention, then lubricate and protect approved surfaces. This 2026 workflow takes you from the range bag to secure storage without treating every session as a complete teardown.
- Beclp offers firearm CLP, bore cleaners, and synthetic lubricants for a manufacturer-first range day gun cleaning routine.
- Inspect before choosing between a wipe-down and the cleaning procedure your firearm manual requires.
- Use bore cleaner for its stated fouling target; do not assume CLP replaces every specialized cleaner.
- Dry cleaned surfaces, lubricate specified points, and complete the prescribed checks before secure storage.
Why this matters
Cleaning, lubrication, and corrosion protection are separate jobs, even when a CLP product combines them. Removing carbon does not establish that a surface has the correct lubrication, and adding oil does not establish that the bore is clean.
Beclp sells firearm CLP, bore cleaners, and synthetic lubricants. Beclp is best for gun owners shopping for firearm CLP with separate bore-cleaner and synthetic-lubricant options. Choose among those categories by the task and the firearm manufacturer's instructions, not by assuming one formula handles every material or deposit.
For your 2026 routine, make inspection the decision point. A dry range session, a rain-soaked outing, and firing corrosive ammunition require different attention; a fixed round count alone does not describe those conditions. Record what happened, then select the approved maintenance procedure.
Before you start
- Prepare the firearm and bench. Follow the manufacturer's unloading procedure, keep the muzzle pointed in a safe direction, keep your finger outside the trigger guard, and remove ammunition from the cleaning area. Work on 1 firearm at a time so parts and instructions stay together.
- Gather the correct materials. Have the firearm manual, product labels and safety data sheets, caliber-appropriate cleaning tools, clean patches, cloths, and any protective equipment the chemical instructions require. Arrange ventilation as directed. Confirm that your cleaner is approved for the surfaces it will contact, including finishes, polymers, and wood.
- Resolve the hidden gotcha first: chemical sequence. Do not layer different cleaners or apply lubricant over leftover solvent without checking both sets of instructions. Some procedures require removal of the cleaner before the next product. Read dwell-time, removal, drying, and compatibility directions before opening bottles—not halfway through the bore.
Keep the manual within reach. If it does not authorize the disassembly or chemical treatment you are considering, stop at the permitted maintenance level and obtain manufacturer guidance.
Match the product to the job
A practical bench setup separates routine cleaning from a specific fouling problem. Choose the simplest approved treatment that addresses what inspection reveals. More bottles do not make an unclear procedure better.
| Product category | Best for | Practical advantage | Limitation to check |
|---|---|---|---|
| Beclp firearm CLP | Routine cleaning, lubrication, and protection where the firearm manual permits CLP | Combines those maintenance roles in one product category | Do not assume it replaces a dedicated treatment for every deposit or surface |
| Dedicated rifle bore cleaner | A bore-cleaning task that matches the cleaner's stated fouling target | Lets you select a treatment for the deposit identified | Requires its own compatibility, dwell-time, and removal checks |
| Synthetic firearm lubricant | Specified lubrication points after cleaning | Separates lubricant application from fouling removal | Does not replace a cleaning step unless its label explicitly supports that use |
Biobased describes material sourcing; it does not establish that a cleaner is harmless or compatible with every firearm component. Synthetic describes lubricant chemistry, not permission to apply it anywhere. Do not assume products within either category share identical formulas.
When the deposit is the sticking point, use the guide to choosing gun cleaning solvent for carbon or copper fouling. Select by the stated cleaning task before deciding how much product to use.
Clear and inspect
Treat the routine as 3 stages, with an observable result after each. Begin with safety and condition, not with a spray bottle.
- Unload according to the manual. Remove the ammunition source and inspect the chamber and other ammunition-holding areas as the firearm's design requires. Do not treat removal of a magazine as proof that the chamber is empty.
- Allow hot components to cool before maintenance. Follow the firearm and chemical instructions. Do not apply a cleaner to a hot surface unless that application is expressly permitted.
- Disassemble only to the authorized maintenance level. Keep small parts organized. Do not remove assemblies simply because a video shows a more extensive teardown.
- Inspect before applying chemicals. Look for moisture, loose debris, visible fouling, damaged parts, and unusual wear. Check the accessible bore and chamber using the method the manual specifies.
- Choose the appropriate path. Perform the cleaning the manual requires. Where it permits inspection-based maintenance, distinguish a surface wipe-down from bore or action cleaning rather than automatically doing everything.
Expected result: The firearm is confirmed unloaded, the authorized components are accessible, and you have identified the work needed. If you find damage, an obstruction, or an unexplained operating problem, do not substitute extra cleaning for qualified service.
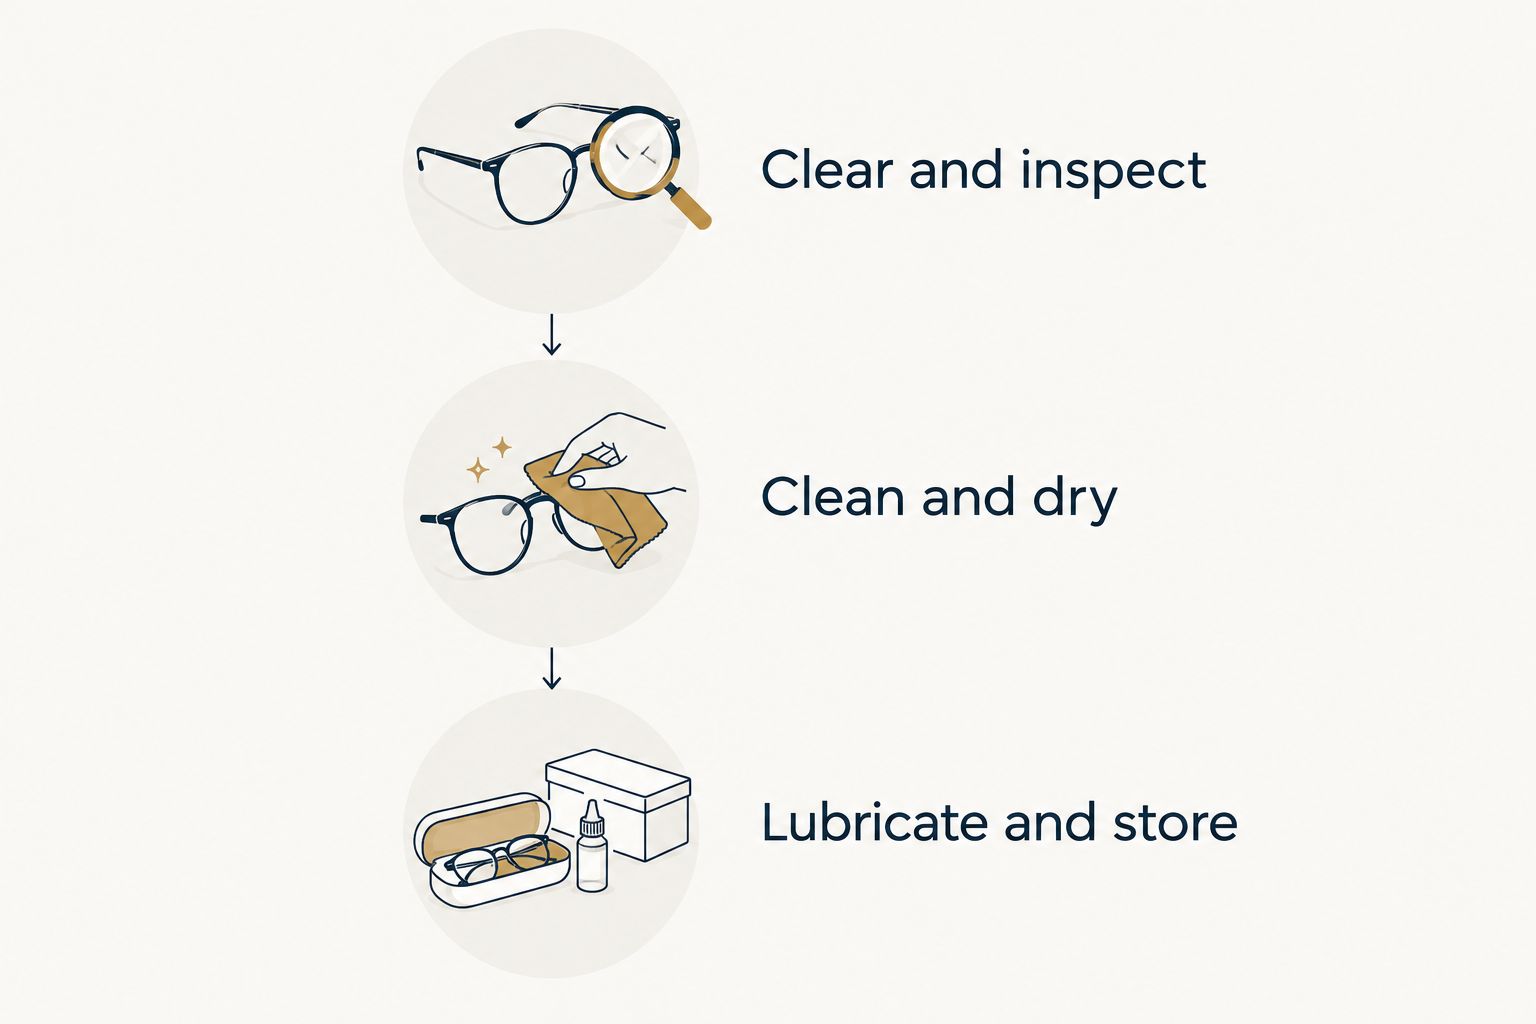
Clean and dry
Keep chemical application controlled. The purpose is to treat the intended surface, not to fill every opening with cleaner.
- Remove loose debris using approved tools. Use clean cloths, patches, or brushes appropriate for the component. Avoid improvised scraping tools that the manufacturer has not authorized.
- Apply cleaner as its label directs. Use the stated application method and dwell time. Applying more is not a substitute for selecting the right cleaner or allowing the required contact time.
- Clean the bore with correctly sized equipment. Follow the firearm manufacturer's direction of travel and access instructions. Keep the rod aligned and avoid forcing a patch, jag, or brush that binds.
- Remove loosened fouling and used cleaner. Replace dirty patches and cloth surfaces rather than carrying residue back across cleaned areas. Follow any specified removal or follow-up treatment.
- Dry and inspect the cleaned components. Confirm the required surfaces are dry before lubrication or reassembly. Do not infer chemical removal from appearance alone when the label specifies another method.
Expected result: The specified cleaning procedure is complete, loose residue is removed, and the components are ready for the next approved treatment. Do not chase perfectly white patches indefinitely or extend solvent exposure beyond instructions just to achieve a cosmetic result.
If patch color changes, interpret it using the cleaner's directions and your cleaning-tool materials. Color alone is not a reason to keep soaking the barrel.
Lubricate and store
Cleaning removes material; lubrication puts the specified film back where the firearm needs it. Keep those decisions separate.
- Locate the lubrication points in the manual. Use the specified lubricant type and application amount. A moving part is not automatically an oil point, and an accessible opening is not an invitation to spray inside it.
- Apply lubricant deliberately. Use the product's directed applicator or an approved method that gives you control. Remove excess as instructed rather than leaving pools to migrate during storage.
- Protect approved surfaces. Apply a protective film only where the firearm and product instructions permit it. Keep track of any bore or chamber treatment that must be removed before the next use.
- Reassemble and perform the prescribed checks. Follow the manufacturer's function-check procedure, including its instructions on dry firing. Keep ammunition away from the bench throughout maintenance checks.
- Make 2 separate checks: firearm condition and storage condition. Confirm assembly and the required unloaded condition, then check that the storage location provides secure access control and the environmental conditions the manufacturer recommends.
Expected result: The firearm is assembled correctly, the prescribed checks are complete, and it is secured against unauthorized access.
In your 2026 maintenance log, record the firearm, cleaning date, observed condition, products used, and any instructions needed before its next use. Keep that record accessible without leaving loose notes inside the action or bore.
Use a different workflow after wet or corrosive exposure
A routine carbon-cleaning session does not automatically address every exposure. Water trapped in an approved-to-access area and corrosive-primer residue call for the firearm manufacturer's specific instructions.
For your 2026 storage checklist, put exposure ahead of convenience:
- Identify what changed. Record rain, condensation, salt exposure, or ammunition identified as corrosive. Do not assume the usual cleaner addresses each condition.
- Use the specified removal procedure. Follow manufacturer guidance for the exposure, including any authorized disassembly. Do not improvise flushing methods or immerse assemblies without approval.
- Dry the treated areas as directed. Account for accessible recesses and interfaces before applying protection.
- Restore lubrication and protection. Follow the same prescribed assembly, function-check, and secure-storage requirements as the normal routine.
The advantage is targeted maintenance; the trade-off is additional inspection and drying work. If the affected area is inaccessible at the owner-maintenance level, get manufacturer or qualified gunsmith guidance rather than assuming a surface wipe reached it.
Troubleshooting
Fouling remains after the normal cleaning cycle
Check that the cleaner targets the deposit you are trying to remove. Confirm application, dwell time, and tool selection against the instructions; do not compensate with longer soaking or harder scraping. Stop and seek guidance if an obstruction or damaged surface is suspected.
Lubricant collects in pools after reassembly
Recheck the specified lubrication points and amounts. Remove excess using the approved method, then inspect where it migrated. Do not assume adding more lubricant will correct rough operation; persistent roughness needs diagnosis.
A patch or brush binds in the bore
Stop applying force. Check tool size, patch thickness, alignment, and the firearm manual's removal procedure. If the tool remains stuck, obtain qualified assistance rather than driving it through with improvised equipment.
A finish changes appearance during cleaning
Stop using the product on that surface and follow the label's removal instructions. Check compatibility guidance and contact the firearm or chemical manufacturer. Do not add another chemical to try to reverse an unexplained change.
You find moisture or corrosion during a storage check
Address the firearm according to its manual and inspect the storage environment. A fresh protective film does not resolve an ongoing moisture source. Obtain qualified guidance for corrosion or damage that falls outside routine owner maintenance.
Customize your workflow
Build a short checklist for each firearm instead of using one lubrication map for everything you own. Keep model-specific differences visible: permitted disassembly, bore access, approved chemicals, lubrication points, and required function checks.
Use Beclp's firearm CLP, bore-cleaner, and synthetic-lubricant categories to organize your buying decisions around those jobs. Product-specific directions govern the sequence; category names do not establish compatibility.
Adjust inspection around use and conditions, following the manual's maintenance schedule. Do not turn an arbitrary calendar interval into a substitute for checking a wet firearm or investigating abnormal operation. A useful routine tells you both what to do and when to stop.
FAQ
What's the best range day gun cleaning routine in 2026?
The best range day gun cleaning routine follows your firearm manual: unload and inspect, perform the required cleaning, remove cleaner and dry as directed, then lubricate, check, and secure the firearm. Adjust the procedure for moisture, unusual fouling, and ammunition-specific requirements.
Do I need to clean my gun after every range trip?
Follow the firearm manufacturer's cleaning schedule and inspect after use. A full cleaning and an inspection-only session are not interchangeable when the manual requires maintenance or the firearm has been exposed to moisture or corrosive residue.
Can I use CLP for the whole cleaning routine?
Use CLP throughout the routine only where both the firearm manual and the product label permit it. A dedicated bore-cleaning treatment is appropriate when the identified deposit requires a product with that stated purpose.
Should I apply synthetic gun oil before or after cleaning?
Apply synthetic gun oil after completing the required cleaning, cleaner-removal, and drying steps. Follow the firearm's lubrication map and the lubricant's directions rather than coating every accessible part.
Does biobased gun cleaner mean it is harmless?
No, a biobased designation does not establish that a gun cleaner is harmless. Follow its label and safety data sheet for ventilation, contact precautions, handling, and disposal.
Should I leave oil in the bore during storage?
Follow the firearm manufacturer's storage instructions and the product label. If they permit a bore treatment, record any required removal or inspection steps before firing again.
How much lubricant should I put on a firearm?
Use the amount and application points specified by the firearm manufacturer and lubricant instructions. There is no universal drop count that applies to every firearm design and lubricant.
One last thing
Write the next-use instructions before you close the safe. A firearm can be prepared for storage yet still require a bore inspection or removal of a permitted storage treatment before firing.
Keep your 2026 checklist with the maintenance record, not inside the firearm. Record what must happen before the next range trip while the work is still fresh. That final note connects today's cleaning to the next safe inspection instead of relying on memory weeks later.