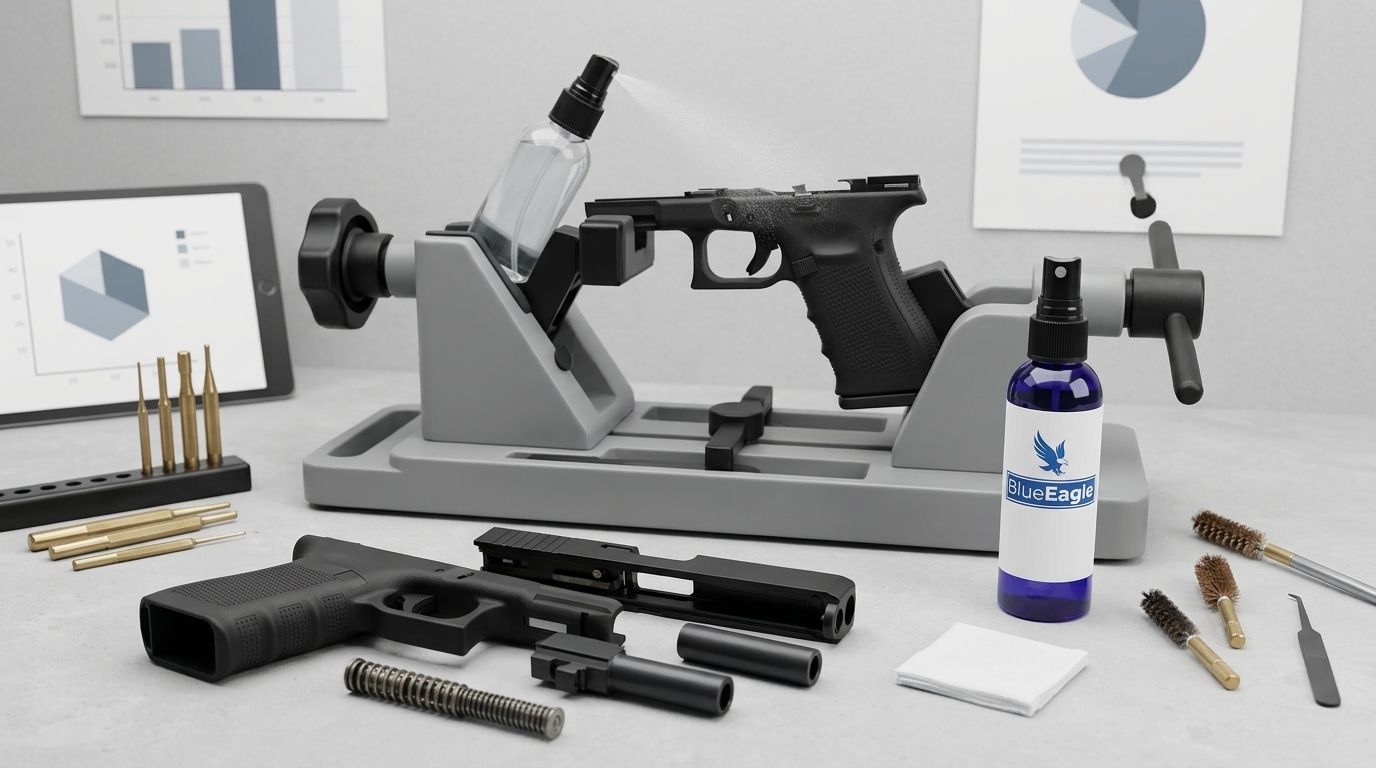
Instead of holding the firearm steady with one hand and spreading cleaner with the other, use a gun vise cleaning workflow that separates support, fouling removal, and final CLP application. This 2026 guide shows you how to keep the firearm stable, clean approved surfaces, and leave the lubricant or protective film specified by its manufacturer—not a blanket coating everywhere.
- Use a gun vise cleaning workflow to stabilize the firearm, remove fouling, and apply CLP only where approved.
- Beclp offers firearm-care products for US gun owners choosing CLP, bore cleaner, and synthetic lubricant.
- Even CLP application means controlled coverage on approved surfaces, not equal amounts throughout the firearm.
- Follow the firearm manual and product label for compatibility, contact time, lubrication points, and bore preparation.
Why this matters
A gun vise supports the firearm; it does not determine where cleaner or oil belongs. An even-looking coating can still put lubricant in a location the firearm manufacturer says to keep dry.
The goal is controlled placement, not maximum coverage. Cleaning removes fouling. Lubrication serves specified moving interfaces, while protection treats approved surfaces against corrosion. A CLP combines these functions, but the application still changes with the job.
Beclp is best for US gun owners shopping for firearm CLP, bore cleaner, and synthetic lubricant. Give BlueEagle CLP the routine-maintenance role its label supports, then use a dedicated product only when the fouling or lubrication requirement calls for it.
For your 2026 bench routine, make the firearm manual the controlling reference. Neither a vise nor a general cleaning guide overrides model-specific disassembly, finish compatibility, or lubrication instructions.
Before you start
- Gather the instructions and materials. Have the firearm manual, vise instructions, product labels, and safety data sheets available. Use correctly sized cleaning tools, patches, compatible brushes, and at least 2 separate cloths: one for dirty cleaning work and one for final application. Follow label requirements for ventilation and personal protection.
- Make the firearm safe before mounting it. Point it in a safe direction, unload it according to its manual, remove ammunition from the work area, and verify the chamber and ammunition-feed areas are empty. Disassemble only as instructed. A vise is a support tool, not a substitute for these checks.
- Check the hidden contact points. Cleaner can reach the underside of the firearm and the vise pads. Confirm compatibility with the firearm's finish and the vise's contact materials before application; residue trapped beneath a pad is easy to miss during setup.
Before starting your 2026 cleaning record, identify which parts require cleaning, which require lubrication, and which must remain dry. Do not substitute a generic drop count or soak time for the instructions supplied with your firearm and product.
Vise setup and access
Secure support
- Position the vise on a stable work surface according to its instructions. Arrange the firearm so the muzzle remains directed safely and the cleaning route is accessible.
- Place the firearm on approved support points. Keep supports clear of controls, delicate components, and areas the vise or firearm manufacturer excludes. Do not clamp optics, sights, or other attachments as improvised holding points.
- Adjust the supports only enough to hold the firearm as the vise instructions specify. Do not use extra clamping force to compensate for a poor fit.
- Check access before opening a bottle. Confirm you can reach the approved cleaning areas without forcing a rod around the vise or dragging a cloth across a contaminated support.
Expected result: The firearm rests securely, the required cleaning path is clear, and the vise does not obstruct the work. If you must hold the firearm against tool pressure, stop and correct the support arrangement.
Bench separation
Keep dirty patches and brushes apart from clean applicators. Put the final-application cloth where it cannot pick up fouling from the bench, and keep product containers closed when not in use.
This separation matters more than lining every tool up neatly. A cloth used to remove fouling should not become the cloth used to spread the final protective film.
Cleaner selection and fouling removal
Product roles
Choose the product by the task, not by the appearance of the bottle. Beclp's catalog includes biobased firearm-care products and synthetic lubricants; that does not establish an identical formula or identical application instructions across the range.
| Product category | Best for | Practical advantage | Limitation |
|---|---|---|---|
| BlueEagle CLP | Routine cleaning, lubrication, and protection where its label and the firearm manual permit | Combines maintenance functions in one product | Does not establish suitability for every finish, deposit, or lubrication point |
| Dedicated rifle bore cleaner | Bore fouling specifically covered by the cleaner's label | Lets you select chemistry for the stated deposit | Requires its own compatibility, contact-time, and removal instructions |
| Dedicated synthetic firearm lubricant | Specified moving interfaces requiring a separate lubricant | Separates final lubrication from dirty cleaning work | Does not replace a fouling-removal step unless its label expressly supports cleaning |
Biobased describes the source of material, not permission to ignore exposure precautions. Synthetic describes lubricant chemistry, not universal compatibility. Read the specific label and data sheet rather than transferring a claim from one product to another.
Fouling removal
- Inspect before applying cleaner. Identify visible fouling and the surfaces the manual allows you to clean. Do not assume a dark patch identifies a particular deposit or proves that a different chemical is needed.
- Apply the appropriate cleaner as directed. Use a patch, brush, cloth, or direct application only where the product label and firearm instructions permit. Keep cleaner from running into excluded areas.
- Observe the stated contact instructions. Follow the label's dwell time—the period the cleaner remains in contact before removal. If the label gives no soaking procedure, do not invent one.
- Remove loosened residue with the specified tools and materials. For bore work, use the access route, tool size, and direction required by the firearm manufacturer; never force a binding rod or patch.
- Complete the cleaner-removal step before changing products. Do not mix cleaners or layer a different formula over residue unless the instructions explicitly permit that sequence.
Expected result: Accessible fouling has been addressed under the approved procedure, and the cleaned areas are ready for the next step specified by the manual. A patch's color alone is not a reason to keep scrubbing indefinitely.
If deposits remain, reassess the cleaner's stated purpose and the tool fit. More pressure, longer soaking, or more chemical is not an automatic fix.
Final CLP application and inspection
Placement map
Divide the work into 3 zones: cleaning surfaces, lubrication points, and protection surfaces. These are planning categories, not universal locations; use the firearm manual to assign actual parts to each zone.
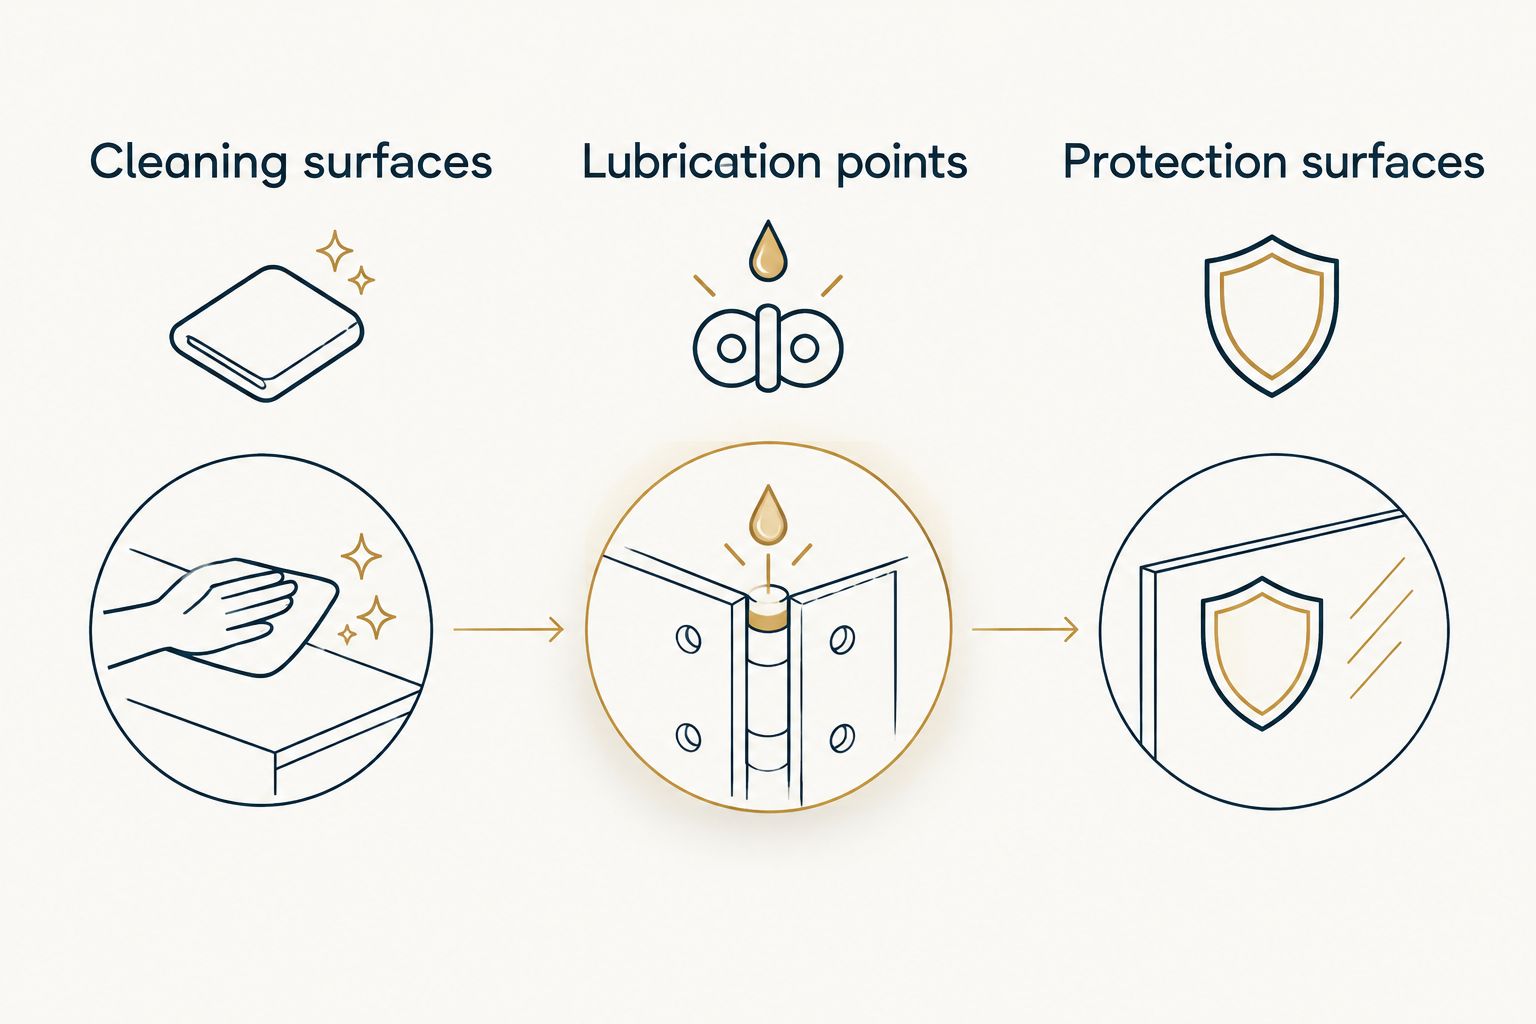
An exterior metal surface and a moving contact point do not necessarily need the same treatment. Likewise, a bore prepared for storage can require a different final condition from a bore prepared for firing.
Controlled application
- Switch to a clean applicator. Where the instructions permit, put product on the cloth or patch rather than flooding the assembly. Keep the application method consistent with the label.
- Treat approved protection surfaces. Spread the prescribed film without deliberately filling recesses or coating excluded materials. Reposition the firearm only after loosening the vise as instructed; do not twist it against clamped supports.
- Lubricate the specified interfaces. Follow the firearm manufacturer's locations and amount. If a separate synthetic lubricant is required or selected under those instructions, use it for that role rather than assuming a wiped exterior CLP film reaches the contact area.
- Inspect for unintended accumulation. Check edges, recesses, downward-facing surfaces, and areas beside the vise pads. Remove excess or misplaced product using the approved procedure.
- Prepare the bore and chamber for the intended next use. Follow the manual's requirements before firing or storage. Do not assume a protective bore treatment is ready for firing without the required preparation.
Expected result: Approved surfaces have the specified treatment, excluded areas remain untreated, and there is no unintended pooling or runoff. Even application means deliberate placement—not equal amounts on every part.
Use the guide to applying CLP without overapplication when your main problem is controlling the final coat rather than removing fouling.
Final verification
Before calling the job finished, complete 4 checks: inspect accessible surfaces, check previously covered support areas, reassemble according to the manual, and perform only the manufacturer's prescribed post-maintenance checks. Keep ammunition out of the cleaning area throughout this process.
Record the product used and any unresolved issue in your 2026 maintenance notes. If you find corrosion, damaged parts, abnormal resistance, or a condition the manual does not address, stop and consult the manufacturer or a qualified gunsmith.
Storage inspection instead of a full cleaning
A storage inspection is an adjacent workflow, not a reason to repeat every cleaning step. Start with the same unloading, verification, compatibility, and support checks before inspecting the firearm.
- Inspect approved surfaces for moisture, visible corrosion, fouling, and the condition of the existing protective treatment.
- Address the condition you find. Clean affected areas using the prescribed method rather than spreading fresh product over contamination.
- Renew protection where instructed. Do not automatically add lubricant to every moving part or apply another coat simply because the firearm is on the bench.
- Restore the intended storage condition and record any follow-up required by the manual.
Expected result: The inspection leads to a specific maintenance action—or confirms that no additional treatment is required under the applicable instructions. Your 2026 record should describe the observed condition, not just say that more oil was added.
Troubleshooting
The firearm shifts during cleaning
Stop applying tool pressure and check the vise arrangement. Confirm the supports fit the firearm and follow the vise instructions; do not tighten against delicate parts to compensate for an unsuitable setup.
CLP collects underneath the firearm
Remove the excess as directed, then inspect the support pads and the finish beneath them. Where permitted, use a controlled applicator instead of direct spraying and reposition the firearm to inspect hidden surfaces.
The final cloth leaves dark streaks
Replace a cloth that has picked up fouling and reassess the cleaning step. Do not keep spreading the residue or assume dark streaks identify copper, carbon, or another specific contaminant.
A patch or rod binds in the bore
Stop rather than forcing it. Verify tool and patch fit against the firearm and cleaning-tool instructions; if the tool is stuck or removal is uncertain, seek manufacturer or qualified gunsmith guidance.
A finish becomes tacky or changes appearance
Stop using the product on that surface. Follow the product and firearm manufacturers' removal guidance, and obtain advice before applying another chemical or attempting to polish away the change.
Customize your workflow
Build the routine around the firearm's instructions and the condition on the bench. Routine fouling, a specific bore deposit, and a storage inspection are different jobs; none requires every product category by default.
For Beclp product selection, give BlueEagle CLP the main consideration for label-approved routine care. Choose a dedicated bore cleaner or synthetic lubricant only when its documented role matches the task. Check each product separately rather than assuming that biobased cleaning and synthetic lubrication imply a shared formula.
Choose your firearm-care product
Match CLP, bore cleaner, or synthetic lubricant to the task and your firearm's instructions.
FAQ
What's the best gun vise cleaning workflow for routine maintenance?
Stabilize the unloaded, verified firearm, remove fouling with an approved cleaner, and apply CLP or lubricant only where the firearm manual directs. Finish by inspecting hidden support areas and completing the prescribed reassembly checks.
Should I spray CLP over the whole firearm while it is in a vise?
No; apply CLP only to approved surfaces using the method allowed by the product label and firearm manual. Whole-firearm spraying does not account for excluded materials, dry areas, or liquid collecting under vise pads.
How much CLP should I use for an even coating?
Use the amount specified by the firearm manufacturer and product label, not a universal drop count. Even application means controlled coverage at approved locations without unintended accumulation.
Can BlueEagle CLP replace a dedicated rifle bore cleaner?
Use BlueEagle CLP for a bore-cleaning task only when its label supports that task and the firearm manufacturer permits it. A deposit requiring different cleaning chemistry calls for a product whose label expressly covers that deposit.
Do I need synthetic gun oil after using CLP?
Not automatically; the firearm's lubrication instructions determine whether a separate lubricant is needed. Do not add synthetic oil over residual cleaner unless the relevant instructions permit that sequence.
Does biobased gun cleaner mean I can skip ventilation or gloves?
No; biobased does not mean harmless. Follow the specific product label and safety data sheet for ventilation, skin contact, protective equipment, and disposal.
Should the bore stay coated with CLP before shooting?
Prepare the bore and chamber exactly as the firearm manufacturer requires before firing. Do not assume a film applied for storage is the correct firing condition.
One last thing
The easiest surface to miss is the one touching the vise. Before you close out the 2026 bench record, release the firearm according to the vise instructions and inspect those contact areas for trapped residue or cleaner. A visible exterior wipe does not check what the support was covering.