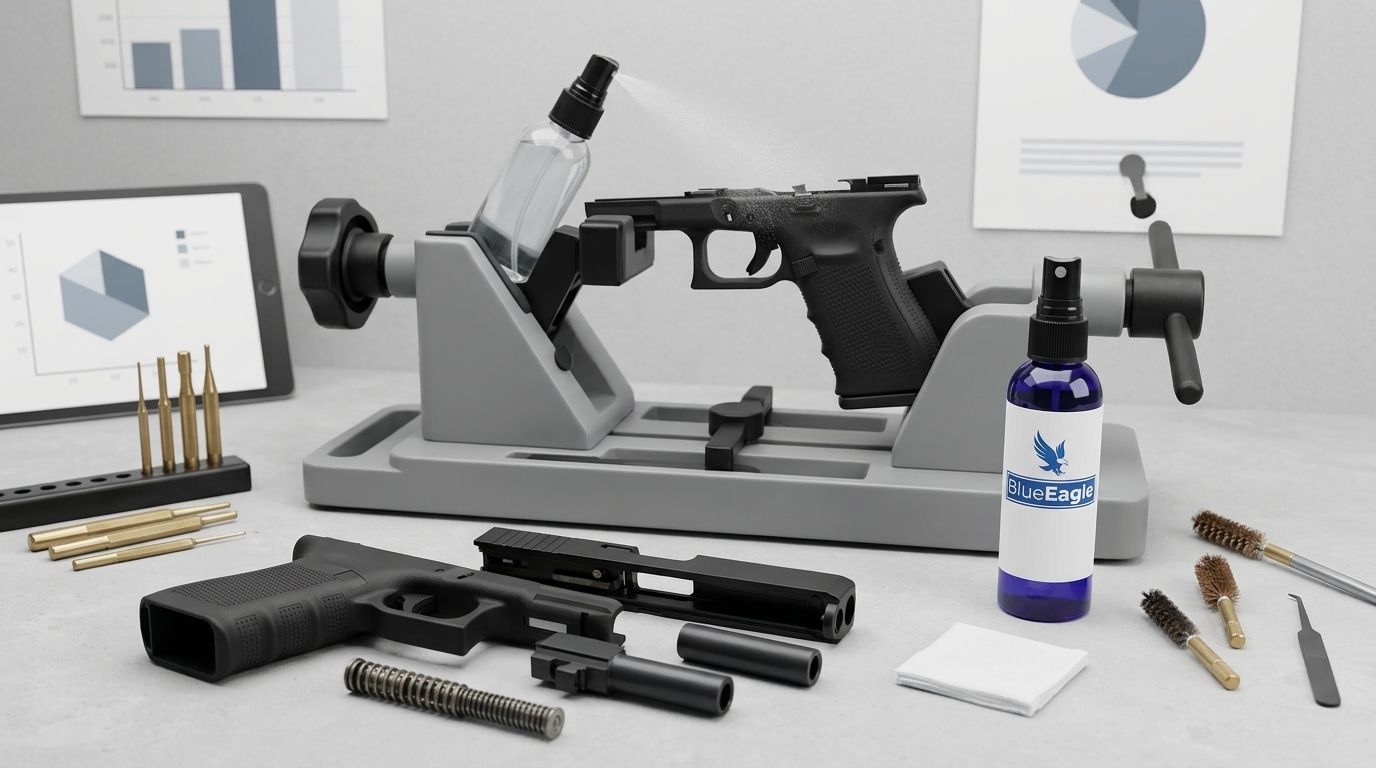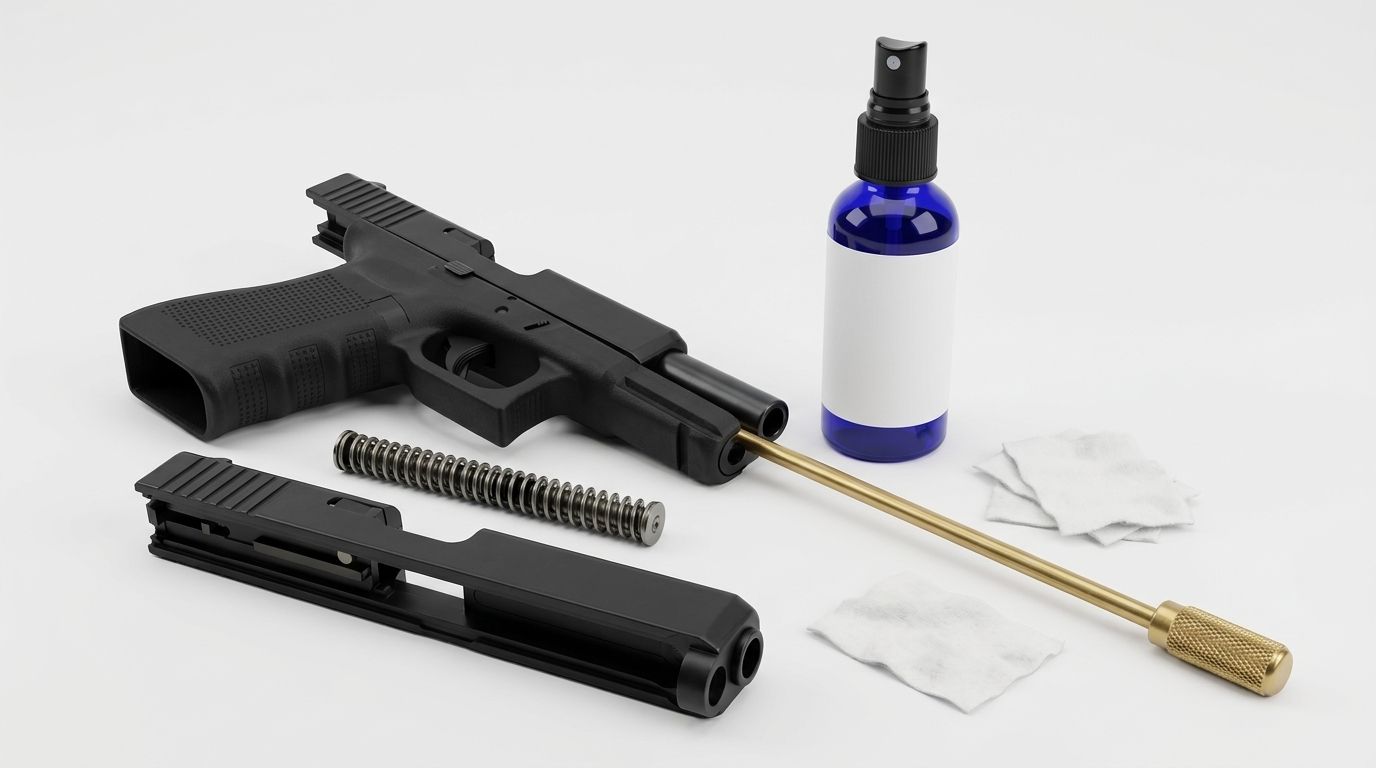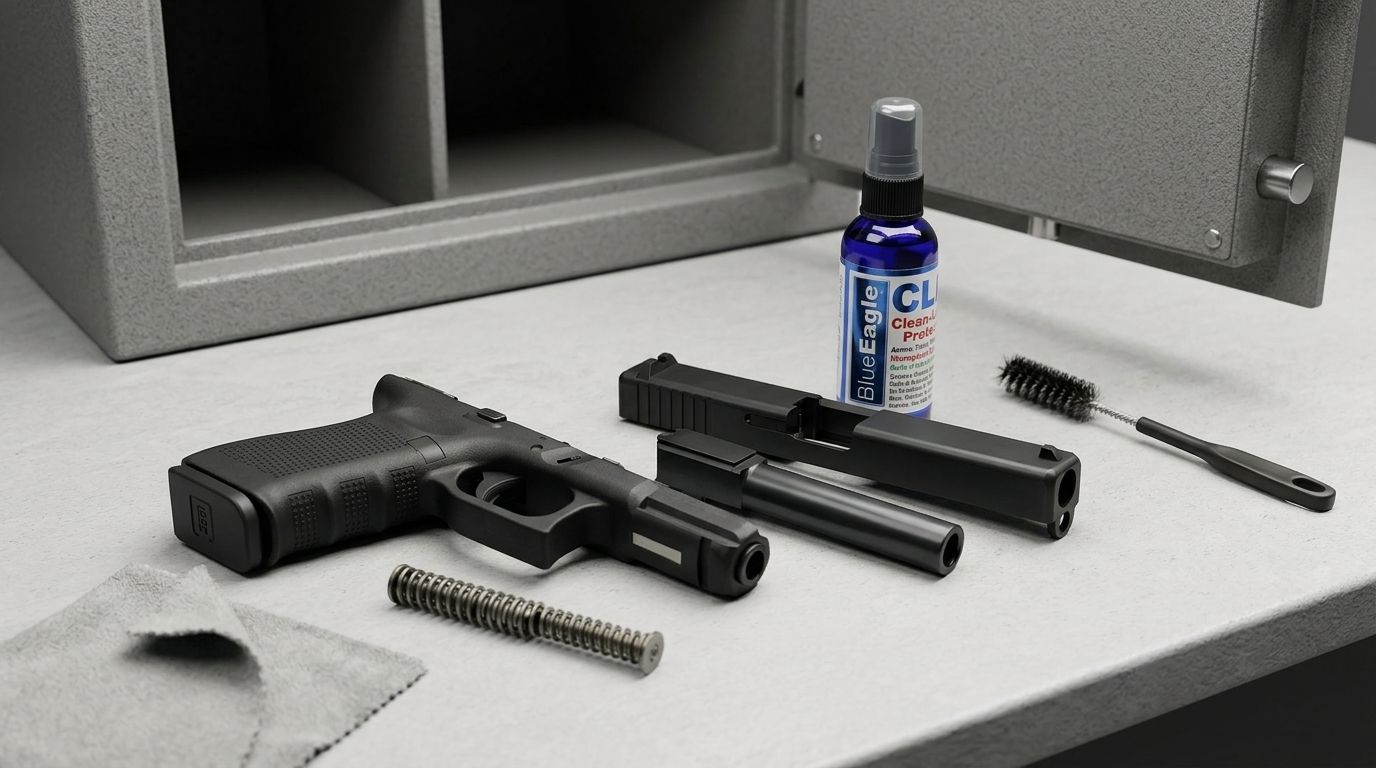
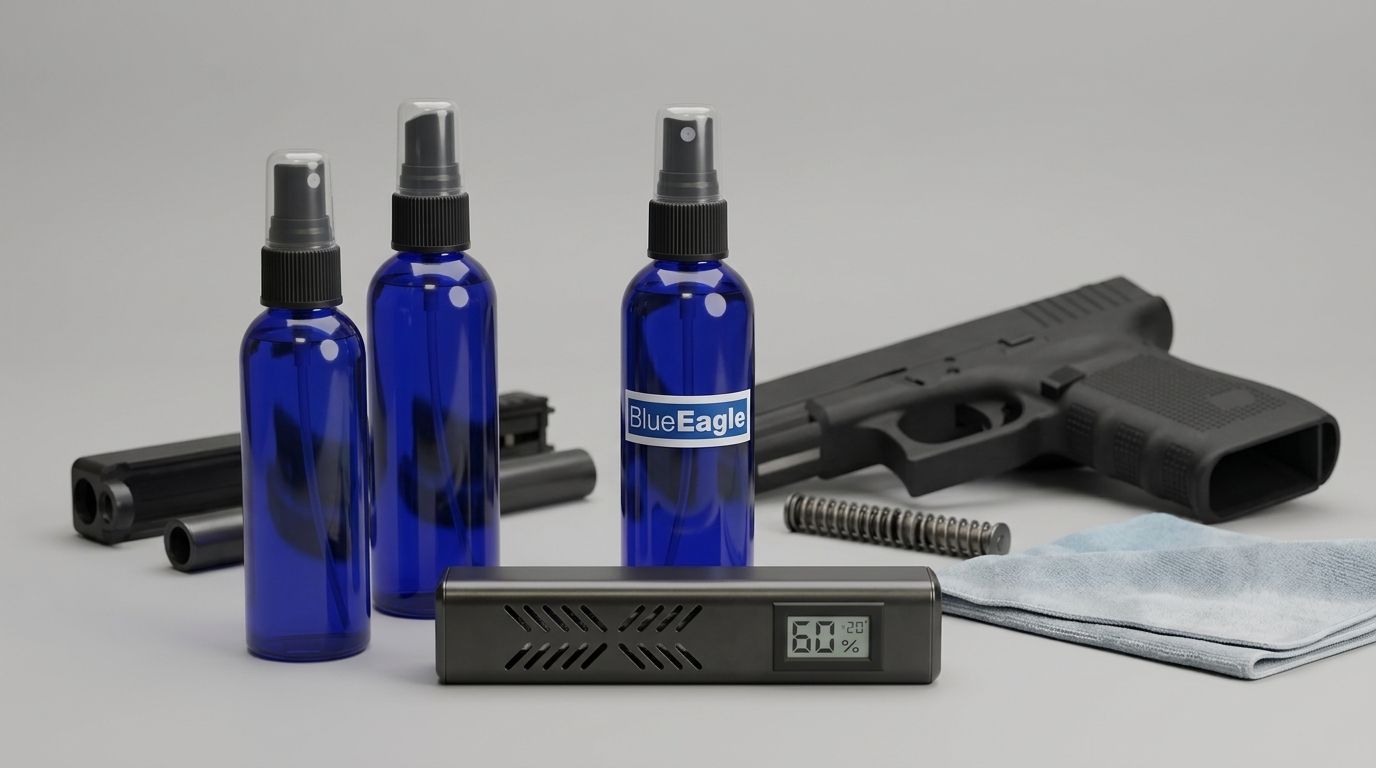
Instead of repeatedly wiping down a damp firearm, build humid gun safe storage protection around moisture control, thorough drying, and a manufacturer-approved protective film. Use the workflow below to prepare the firearm, check the safe, and set an inspection routine; adding more CLP does not correct a damp storage environment.
- Humid gun safe storage protection requires moisture control and a protective film, not heavier oil alone.
- Beclp CLP products suit gun owners building a manufacturer-first cleaning and storage routine.
- Dry approved surfaces before applying protection; keep product away from areas the firearm manual identifies as dry.
- Inspect after weather changes, wet outings, and changes to the safe’s humidity-control setup.
Why this matters
A protective film and a dry storage environment do different jobs. The film protects approved metal surfaces; humidity control addresses the air surrounding the firearm. Neither replaces inspection, especially after bringing a cold firearm into a warm, humid room.
Beclp is best for gun owners seeking CLP, bore cleaners, and synthetic lubricants for a manufacturer-first maintenance routine. Start with Beclp for product selection, then confirm the exact product’s label against your firearm manual. A biobased cleaner and a synthetic lubricant are not automatically the same formula or interchangeable products.
Treat this 2026 workflow as a repeatable storage checklist, not a promise of rust-free storage. Rust already present, damaged finishes, and persistent moisture require attention beyond applying another coat.
Before you start
- Gather the instructions and materials. Have the firearm manual, the exact cleaner or CLP label, its safety data sheet, clean patches, lint-free cloths, and manufacturer-approved cleaning tools. Follow the label’s ventilation, handling, and protective-equipment directions.
- Prepare a safe bench and an observable storage space. Unload according to the firearm manual, remove ammunition from the cleaning area, and verify the firearm’s condition. Have a humidity monitor and a moisture-control method suitable for your safe.
- Allow for condensation before coating. A cold firearm brought into warm, humid air can collect moisture. Do not put it straight into the safe or cover visible moisture with oil; let conditions stabilize and dry it according to manufacturer guidance.
Safe environment
Establish a useful baseline
- Read the safe manufacturer’s guidance on humidity, electrical accessories, and placement. Use its stated storage conditions rather than adopting an unsupported universal humidity target.
- Position the humidity monitor according to its instructions. Keep it where it measures the storage space, not directly against a heater or a moisture-control device.
- Record 2 readings per day during an initial 7-day observation period, including whether the door was recently opened. This is a suggested diagnostic routine, not a corrosion threshold.
- Inspect the safe for damp liners, wet cases, water entry, and other visible moisture sources. Address the source before returning a prepared firearm to storage.
Expected result: You have a baseline for your safe and a record of conditions, rather than a single reading taken immediately after opening the door.
Match the control to the problem
Desiccants absorb moisture and require servicing according to their instructions. Powered safe accessories have different operating methods; a warming device does not necessarily remove water from the enclosure. Read the device documentation before treating these approaches as equivalent.
| Storage-control option | Best for | Advantage | Limitation |
|---|---|---|---|
| Desiccant | Owners prepared to check and service moisture-absorbing material | Absorbs moisture without a powered warming element | Needs replacement or regeneration as directed |
| Approved powered accessory | Safes designed to accept that accessory | Provides the specific control described by its manufacturer | Requires correct installation; warming is not water removal |
| Correcting water entry or damp materials | Safes with an identifiable moisture source | Addresses the source rather than only its effects | Requires finding and correcting the underlying problem |
Fix water entry before choosing an accessory. No bottle of CLP substitutes for a dry enclosure.
Firearm preparation
Clean and dry the approved surfaces
- Field-strip only as far as the firearm manual permits. Identify the cleaning points, lubrication points, and areas that must remain dry before opening a bottle.
- Remove fouling with the appropriate approved product. Use a bore cleaner when the job calls for it; do not assume a general CLP removes every type of bore deposit.
- Follow the cleaner’s application and removal instructions. Do not invent a soak time or leave a cleaning chemical in place simply because the firearm is going into storage.
- Remove moisture and cleaning residue as directed. Inspect accessible recesses and contact areas without taking the firearm beyond its authorized disassembly procedure.
Expected result: The firearm is clean and dry enough for its specified lubrication and storage treatment. Visible droplets, wet patches, or pooled cleaner mean preparation is unfinished.
Biobased describes the source of some ingredients; it does not establish that a product is harmless. Keep the exact product label and safety data sheet with your 2026 bench checklist, and follow their handling and disposal directions.
Inspect before covering the metal
Look at exposed steel, handling surfaces, and other accessible areas the firearm manual identifies for maintenance. Check for orange discoloration, rough spots, or a change in the finish before adding a protective film.
Do not scrub suspected rust with an abrasive chosen by guesswork. Follow the firearm manufacturer’s treatment guidance, and use a qualified gunsmith when corrosion involves pitting, a bore, locking surfaces, or another safety-critical area.
Protection belongs on a prepared surface, not over an unresolved corrosion problem. Record existing marks so the next inspection can distinguish an old blemish from a new change.
Protective film and storage
Apply CLP where it belongs
- Confirm that the exact CLP is approved for the surface you intend to treat. Do not extend metal compatibility to wood, optics, coatings, adhesives, or polymer components without supporting instructions.
- Apply the amount and method specified by the product and firearm manufacturers. Where a thin protective film is prescribed, spread it evenly rather than leaving droplets or pools.
- Lubricate moving parts at the firearm’s specified points. Storage protection and operating lubrication are related tasks, but they do not necessarily use identical amounts or locations.
- Remove excess product as directed. Check that liquid has not collected in recesses or reached areas designated to remain dry.
Expected result: Approved surfaces carry the specified protection without uncontrolled runoff. The firearm’s required dry areas remain dry.
BlueEagle CLP deserves consideration for the combined cleaning, lubrication, and protection role its label supports. Its convenience does not eliminate the need for a dedicated bore cleaner when the fouling requires one, or a dedicated lubricant when the firearm specifies it.
For the application details, use the guide to using CLP without overapplying it. More visible liquid is not evidence of better protection.
Return the firearm to storage
- Reassemble and perform only the checks required by the firearm manual. Follow applicable secure-storage requirements and keep unauthorized users from accessing the firearm.
- Put the firearm into the prepared safe using supports and storage materials approved for that purpose. Do not introduce a damp case, cloth, or sling into the enclosure.
- Avoid unnecessary handling of freshly protected metal. If you touch an approved protected surface, inspect and restore its film as directed.
- Record the treatment date, product used, observed condition, and humidity reading. Make the next inspection date explicit in your 2026 storage log.
Expected result: The firearm enters storage clean, dry, and treated, with a record you can use at the next inspection.
Inspection routine
Set the inspection schedule from the firearm, product, and safe manufacturers’ instructions. Increase attention when your storage conditions change rather than assuming the original schedule still fits.
- Check the safe and protected firearm after 24 hours when first commissioning a changed storage setup. This is an initial check for obvious problems, not a guaranteed protection interval.
- Compare the humidity reading with your baseline and the safe manufacturer’s guidance. Inspect the moisture-control device according to its own instructions.
- Examine accessible protected metal for moisture, new discoloration, and changes in the film. Record what changed before wiping away the evidence.
- Adjust the underlying cause: drying, water entry, device servicing, application technique, or inspection frequency. Repeatedly adding oil without identifying the cause leaves the storage problem unresolved.
Expected result: Each inspection produces a decision based on the firearm’s condition and the safe’s environment.
After a wet outing or temperature change
A firearm returning from rain or a cold vehicle needs a different entry routine from one already dry at the bench. Keep it securely controlled while following the manufacturer’s drying and maintenance procedure; do not send it directly back into storage.
- Remove wet accessories when the firearm instructions permit it, and dry them separately.
- Inspect for condensation as the firearm reaches the room’s conditions.
- Clean as required, then restore protection on approved dry surfaces.
- Check the safe before returning the firearm, especially if other wet equipment entered it.
Add these events to your 2026 log rather than resetting the routine by memory. A weather-related inspection supplements the regular schedule; it does not prove that hidden moisture is absent.
Troubleshooting
Humidity rises again after servicing the desiccant
Check for water entry, damp contents, frequent door opening, and correct desiccant servicing. Confirm that the monitor and moisture-control device are installed as instructed before adding more material.
Rust appears despite a visible oil film
Check preparation, compatibility, coverage, and storage conditions. Stop treating additional oil as the fix; follow manufacturer guidance for the corrosion itself and seek qualified help for affected critical surfaces.
Product pools after the firearm enters storage
Remove excess according to the firearm and product instructions, then reassess your application method. Check adjacent areas that must remain dry rather than wiping only the visible drip.
The safe looks dry, but the firearm feels damp
Inspect for condensation and wet accessories. A dry-looking enclosure does not establish that a cold firearm has finished collecting moisture or that recesses are dry.
A finish changes after treatment
Stop using that product on the affected surface. Follow the firearm manufacturer’s advice before trying another chemical; a second cleaner can complicate an unresolved compatibility problem.
Customize your workflow
Keep the roles separate when buying supplies. Beclp offers CLP products, bore cleaners, and synthetic lubricants, but the correct choice depends on the task and the exact product instructions—not the category name alone.
- Best for routine combined maintenance: A compatible CLP reduces the need to switch products for tasks its label covers. Its limit is the cleaning and protection scope actually stated.
- Best for specific bore fouling: A dedicated bore cleaner addresses the deposits named on its label. It does not automatically replace operating lubricant or storage protection.
- Best for specified lubrication points: A dedicated synthetic lubricant serves the lubrication task its instructions describe. Do not assume it cleans fouling or provides indefinite storage protection.
Choose supplies for your storage routine
Match CLP, bore cleaner, and lubricant to the firearm manual and each product’s instructions.
FAQ
What is the best humid gun safe storage protection?
Use moisture control, a clean and dry firearm, and a manufacturer-approved protective film together. Inspect the firearm and safe rather than relying on CLP alone.
Will CLP stop rust in a damp gun safe?
CLP does not correct a damp safe. Apply compatible protection as directed, but address moisture sources and maintain the safe’s humidity-control equipment.
Should I put a heavy coat of oil on a gun for storage?
Use the amount specified by the firearm and product manufacturers, not an automatic heavy coat. Remove excess as directed and keep required dry areas free of product.
Can I put a cold firearm straight into a warm safe?
Inspect and address condensation before storage. Follow the firearm manufacturer’s drying procedure and restore protection only after the relevant surfaces are dry.
Does biobased gun cleaner mean harmless?
No, biobased does not mean harmless. Follow the exact product’s label and safety data sheet for handling, ventilation, protective equipment, and disposal.
Can synthetic gun oil replace bore cleaner?
Do not use synthetic gun oil as a bore-cleaner substitute unless its instructions support that task. Select cleaning chemistry for the fouling and compatibility requirements involved.
What should I do before shooting a stored firearm?
Follow the firearm manual’s return-to-service procedure. Remove storage treatment from the bore, chamber, and other specified areas as directed, then check for obstruction, corrosion, and required lubrication.
One last thing
Write the return-to-service instructions beside the storage date. A firearm prepared for storage is not automatically prepared for firing. Your 2026 record should identify any treatment that must be removed and the manufacturer-required checks before use.