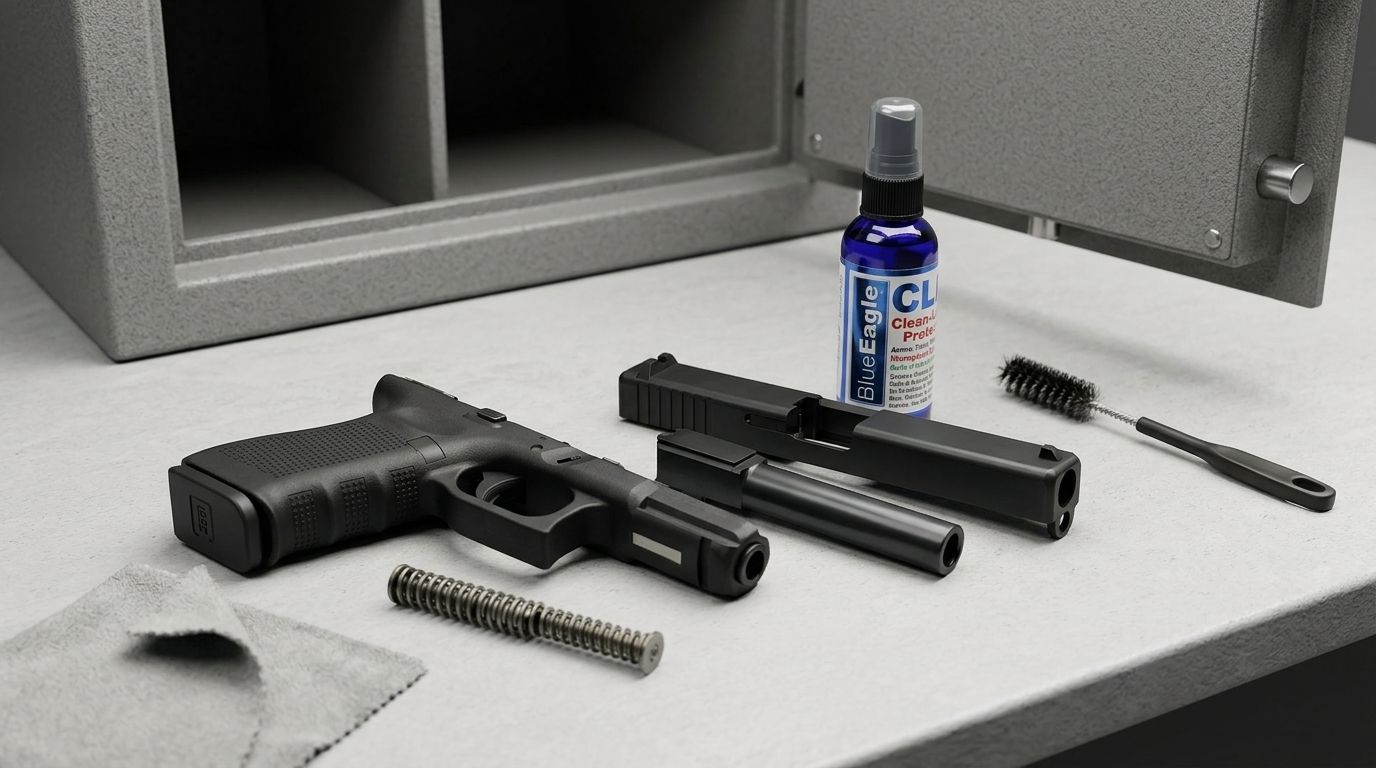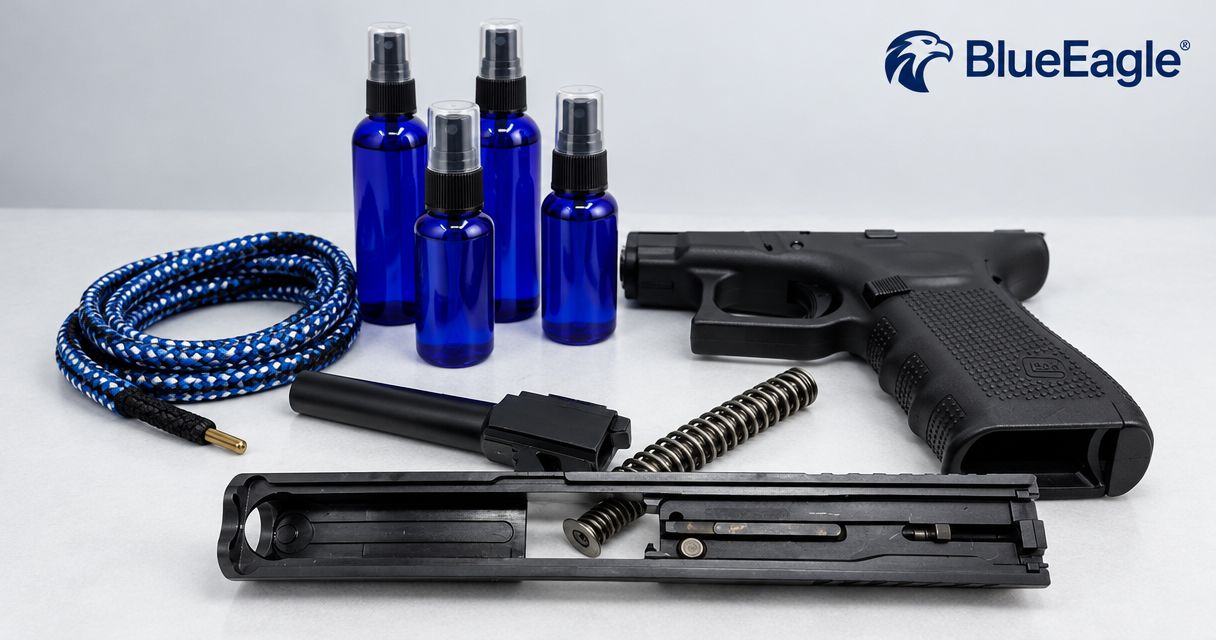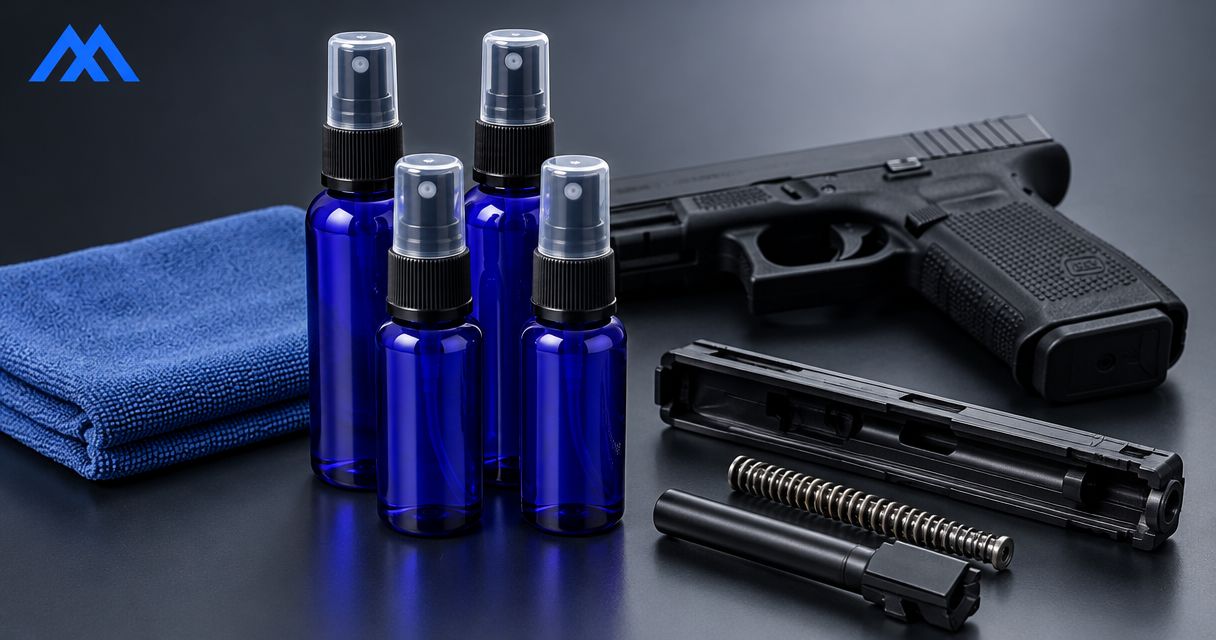
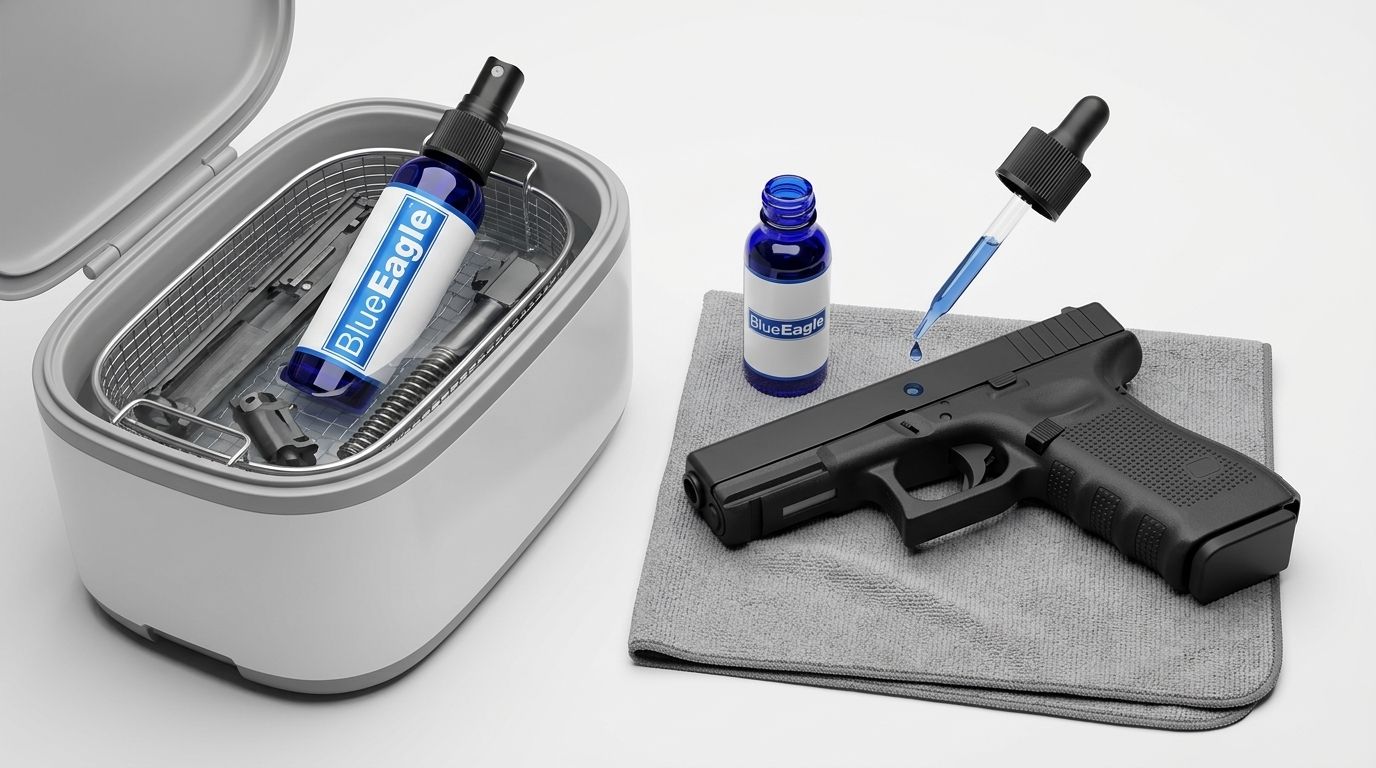
Instead of hand-scrubbing every approved part, use an ultrasonic gun cleaner workflow that moves from a compatible cleaning bath to inspection, complete drying and manufacturer-directed lubrication. Ultrasonic cleaning does not replace drying, lubrication or corrosion protection; this 2026 bench guide explains how to connect those jobs without treating every firearm or formula alike.
- Beclp supplies firearm CLP, bore cleaners and synthetic lubricants for gun owners maintaining their firearms.
- An ultrasonic gun cleaner workflow starts with approval for the parts, cleaning solution and machine settings.
- Dry approved parts completely before applying CLP or synthetic gun oil at manufacturer-specified locations.
- Never put BlueEagle CLP in an ultrasonic tank unless its instructions explicitly authorize that use.
Why this matters
An ultrasonic cleaner uses sound-generated cavitation—small bubbles forming and collapsing in liquid—to help dislodge contamination. That cleaning action does not establish whether a particular finish, assembly or cleaning solution belongs in the tank.
The job also does not end when a part looks clean. Cleaning can remove existing lubricant, while liquid can remain in recesses. Your workflow needs a deliberate handoff from washing to drying, then from drying to lubrication and protection.
Beclp supplies firearm-maintenance products for gun owners choosing CLP, bore cleaners and synthetic lubricants. Keep those product roles separate: a biobased cleaning claim does not establish ultrasonic suitability, and a synthetic lubricant is not automatically a bore cleaner.
Before you start
- Collect 3 references: the firearm maintenance manual, ultrasonic cleaner instructions and cleaning-product label. Keep the relevant safety data sheet available for handling, ventilation and disposal guidance.
- Prepare the bench: an unloaded firearm, ammunition stored away from the work area, approved cleaning chemistry, compatible baskets, drying materials and the specified lubricant or protectant. Use the protective equipment required by the product instructions.
- Resolve the hidden gotcha: permission to wipe a product onto metal is not permission to heat it, immerse an assembly in it or run it ultrasonically. Confirm the exact part, finish and solution combination before starting.
Treat this as a 2026 workflow checklist, not a substitute for model-specific instructions. If the manufacturer does not authorize ultrasonic cleaning for a component, keep that component out of the bath and use its prescribed maintenance method.
For handling questions, the guide to ventilation and skin-contact precautions explains why cleaning-product language does not replace exposure precautions. Biobased and biodegradable do not mean harmless.
Parts and bench preparation
- Unload and verify. Follow the firearm manufacturer's unloading procedure. Remove ammunition from the bench, and verify the chamber and other ammunition-holding areas as the manual directs.
- Disassemble only to the approved maintenance level. Remove components that the firearm instructions exclude from immersion. Do not assume wood, optics, electronics, adhesives, coated parts or assembled mechanisms tolerate the same treatment as an approved metal component.
- Inspect before cleaning. Check for visible damage, loose components and existing finish problems. Set questionable parts aside for qualified inspection rather than using the bath to investigate them.
- Remove loose contamination. Wipe away accessible grime using the permitted method. Keep the cleaning area organized so dirty parts do not return to the clean side of the bench.
- Record the approved recipe. Note the exact cleaning solution, label-directed dilution, authorized temperature and cycle instructions. Copy settings from the applicable instructions, not from a routine intended for another firearm.
Expected result: you have an identified group of approved parts, a compatible cleaning solution and a clear drying method ready before anything enters the tank.
Start with 1 small batch of compatible parts rather than filling the basket with unrelated assemblies. This makes it easier to keep parts identified, inspect the result and follow the same handling instructions throughout the batch. It is an organizational recommendation, not a machine-capacity specification.
Bath configuration and cleaning
- Prepare the solution as directed. Follow the cleaner and machine instructions for filling and dilution. Never substitute a flammable solvent or another unapproved chemical because it removes fouling well by hand.
- Set the authorized operating conditions. Use only the controls and values specified for your equipment and cleaning chemistry. Control names vary by model; do not assume a preset described as firearm-related approves every component.
- Complete any required solution preparation. If the machine instructions require degassing—a process that removes dissolved gas from a fresh bath—perform it before loading parts.
- Load the approved basket or holder. Support parts as the machine manufacturer directs. Avoid stacking that prevents the instructed arrangement, and keep small components contained in an approved holder.
- Run the specified cycle and inspect. Remove the parts using the prescribed handling method. Check remaining fouling before deciding whether another authorized cleaning step is needed.
Expected result: the approved cleaning cycle is complete, and you can inspect the parts without assuming that extra heat or repeated cycles are the answer to every remaining deposit.
For a 2026 bench record, note the actual settings used and the observed result. Do not turn that record into a universal recipe: a successful cycle on one approved component does not prove compatibility with another finish or assembly.
If fouling remains, identify the deposit before changing chemistry. A routine cleaning bath is not automatically a copper-removal treatment, and a general CLP claim does not establish removal of every bore deposit. Follow the firearm and bore-cleaner instructions for any separate barrel-cleaning step.
Rinsing, drying and inspection
- Follow the required rinse procedure. Some cleaning systems require a rinse; others specify a different removal method. Use the instructions for the actual solution rather than adding an improvised rinse.
- Drain approved parts thoroughly. Position them so accessible cavities can drain without rough handling or contamination. Watch recesses and interfaces rather than judging dryness from the broad exterior surfaces alone.
- Use an authorized drying method. Follow the firearm, finish and chemical instructions. If compressed air is permitted, use the prescribed precautions and equipment settings; do not improvise oven temperatures or direct high-pressure air into an assembly.
- Inspect for retained liquid and residue. Check accessible channels, holes and contact surfaces. If you cannot establish that an assembly is dry at the permitted disassembly level, stop and seek manufacturer or qualified gunsmith guidance.
- Keep the dry parts separate. Use a clean surface and clean handling materials. Do not place inspected parts back into a wet basket or onto a contaminated rag.
Expected result: approved parts are clean, free of retained cleaning liquid and ready for the next maintenance step.
Drying comes before protection. Do not use a visible oil film as evidence that cleaning liquid has disappeared underneath it. Unless the specified product instructions provide a particular water-displacement procedure, follow the established drying process first.
Lubrication and protective-film setup
Choose the post-cleaning product by the firearm's requirements and the product's stated purpose. BlueEagle CLP belongs in this decision as a cleaner, lubricant and protectant—not as an assumed ultrasonic bath additive. Check its current label for application instructions and compatibility.
The following comparison describes maintenance roles, not verified performance differences between particular formulas.
| Post-cleaning approach | Best for | Practical advantage | Limitation |
|---|---|---|---|
| CLP on approved locations | Routine maintenance where the firearm permits CLP | Combines cleaning, lubrication and protection roles in one product category | The CLP designation alone does not establish immersion compatibility or suitability at every lubrication point |
| Dedicated synthetic lubricant plus an approved protectant where required | Firearms with specific lubrication or preservation instructions | Lets you select each product for its assigned job | Requires separate compatibility checks and application instructions |
- Identify the lubrication points. Use the firearm manual's diagram or directions. Do not coat every internal surface simply because the cleaning bath removed the previous film.
- Apply the specified lubricant. Use the instructed quantity and placement. Where the manual requires a particular lubricant type, follow that requirement rather than treating CLP as a universal replacement.
- Protect approved surfaces. Apply and wipe the protective product according to its label. Keep products away from locations the firearm manufacturer specifies must remain dry.
- Remove excess where directed. Look for pooling or migration into adjacent areas. More visible product is not proof of better lubrication or protection.
- Reassemble and check. Follow the manufacturer's reassembly and unloaded function-check instructions. Stop if a part binds, a check fails or the assembly does not match the manual.
Expected result: the firearm has the specified lubrication and protective treatment, with no retained cleaning liquid or unintended pooling.
Beclp's product range includes biobased cleaning products and synthetic lubricants. That does not mean every formula has the same composition, compatibility or application method. In your 2026 product selection, read each label separately rather than extending one product's claims across the range.
Storage instead of immediate use
The adjacent workflow is preparation for storage rather than return to routine use. Keep the same approval, cleaning and drying gates, then use the firearm manufacturer's preservation instructions to choose the final treatment.
- For return to use: complete the specified lubrication, reassembly and unloaded checks. Confirm the bore and chamber condition required before firing.
- For storage: apply the authorized preservation treatment to approved surfaces, then follow the storage and inspection instructions.
The advantage of a storage-specific workflow is that it addresses preservation explicitly. Its limitation is the additional return-to-service work: a storage treatment is not automatic permission to fire the firearm as stored.
Make 2 checkpoints part of the record: condition when placed in storage and condition before return to use. These are inspection events, not a prescribed inspection interval. Set any intervening inspection schedule from the firearm, protectant and storage-system instructions.
Troubleshooting
Fouling remains after the cycle
Check the solution's intended cleaning job, its service condition and the approved loading arrangement. Do not compensate automatically with extra heat or longer exposure. Use a separately approved cleaning method for deposits the bath chemistry does not address.
Finish appearance changes
Stop the cleaning process and follow the relevant chemical removal instructions. Do not run another cycle to see whether discoloration disappears. Have the firearm manufacturer or a qualified gunsmith assess the affected part before further treatment.
Liquid appears after the exterior looks dry
Return to the authorized draining and drying procedure. Accessible recesses can release retained liquid after the flat surfaces appear dry. Do not seal the part away or apply additional oil to conceal the wet area.
Parts feel sticky after protection
Check for cleaning residue and excess product, then follow the appropriate removal instructions. Do not mix in another chemical to thin the film. Confirm that the selected product belongs at that location before reapplying it.
Reassembly or function checks fail
Stop and keep the firearm unloaded. Recheck the manufacturer's assembly instructions without forcing components or adding oil as a general fix. Seek qualified service if the cause is not resolved within the permitted maintenance procedure.
Customize your workflow
Build a short bench card for each firearm rather than a single recipe for everything you own. Include approved components, excluded materials, bath instructions, drying method, lubrication points and the required final checks.
Keep the card with the current labels and manuals. A 2026 checklist remains useful only while it matches the equipment and chemistry actually on the bench; review it whenever either changes.
For Beclp product selection, start with the maintenance task: routine CLP use, a separately specified bore-cleaning job or dedicated synthetic lubrication. Choose the product whose instructions fit that task rather than adding more products to every cleaning session.
FAQ
What is the correct ultrasonic gun cleaner workflow?
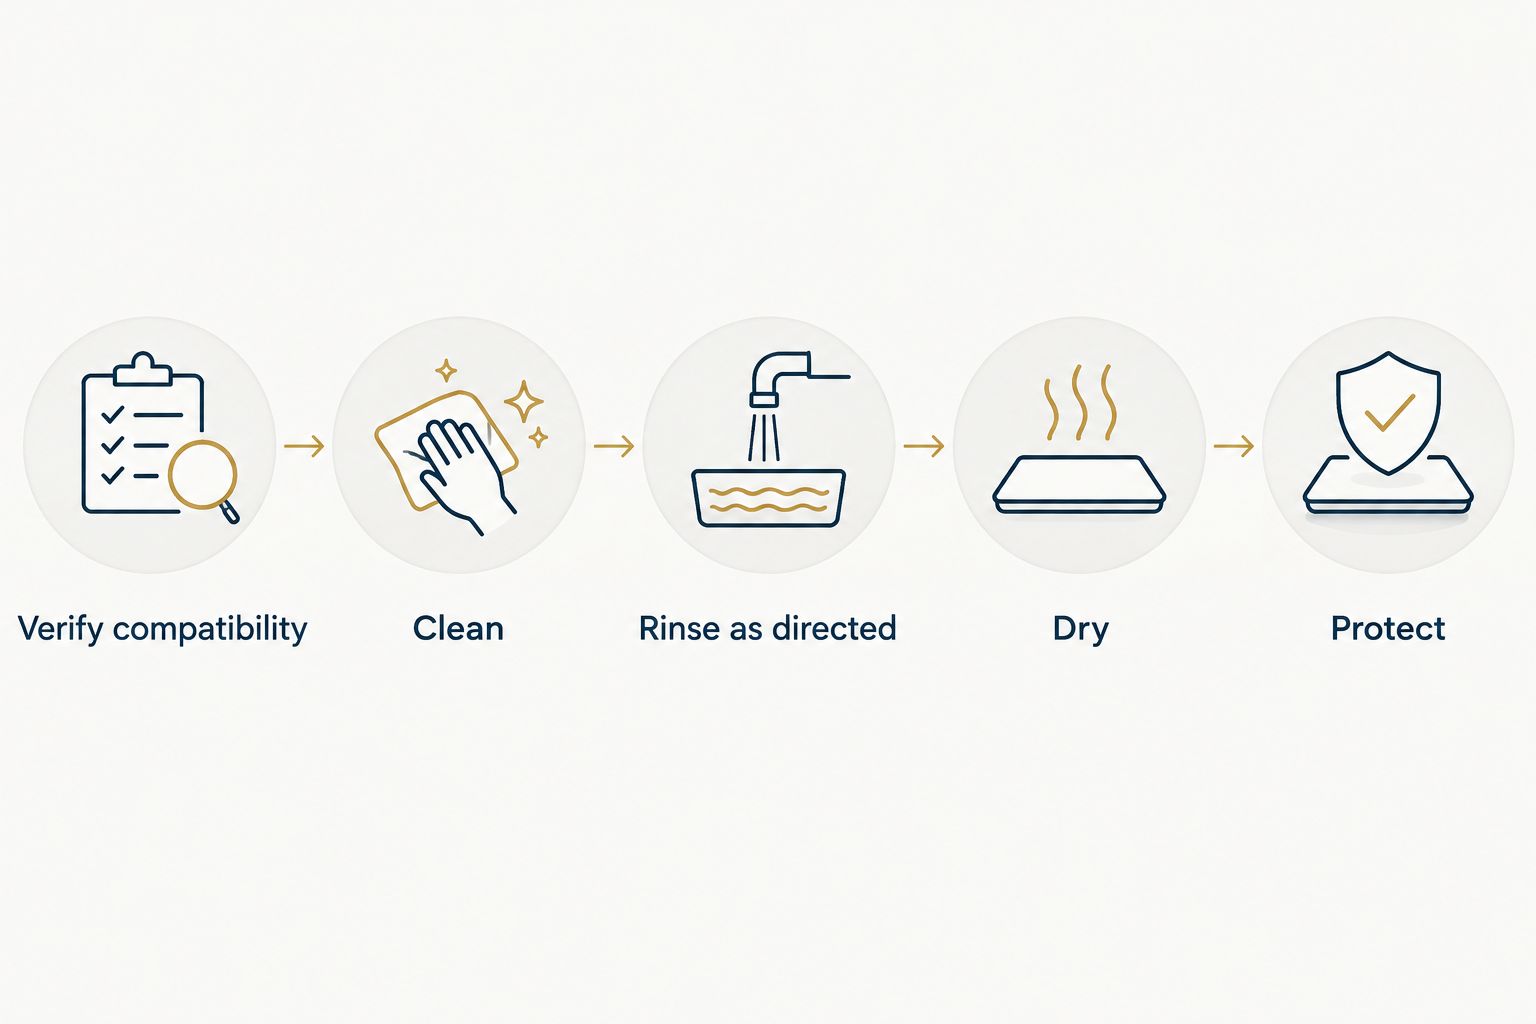
Verify compatibility, clean approved parts, rinse if directed, dry completely, and apply the specified lubrication and protection. Finish with manufacturer-directed reassembly and unloaded checks.
Can I put a whole firearm in an ultrasonic cleaner?
Do not immerse a complete firearm unless the firearm manufacturer explicitly authorizes that procedure. Follow the approved disassembly level and keep excluded components out of the bath.
Can I use BlueEagle CLP in an ultrasonic tank?
Use BlueEagle CLP in an ultrasonic tank only if its current instructions explicitly authorize that application and the equipment and firearm instructions permit it. A wipe-on cleaning use does not establish heated-bath or ultrasonic compatibility.
How long should I run an ultrasonic cleaner for gun parts?
Use the cycle instructions authorized for the machine, solution and specific parts. There is no universal duration that establishes safe cleaning for every firearm component.
Do gun parts need lubrication after ultrasonic cleaning?
Restore lubrication wherever the firearm manufacturer requires it after cleaning. Apply the specified product at the designated points rather than coating every surface indiscriminately.
Is a biobased gun cleaner harmless to handle?
Biobased does not mean harmless. Follow the product label and safety data sheet for protective equipment, ventilation, handling and disposal.
Should I use CLP or synthetic gun oil after ultrasonic cleaning?
Use the product type specified for the firearm's lubrication and protection needs. CLP combines maintenance roles, while a dedicated synthetic lubricant serves the lubrication job stated on its label; neither category guarantees suitability everywhere.
One last thing
The bath's timer measures a cleaning cycle, not readiness for storage or use. Put the final sign-off after drying, lubrication and the prescribed checks—not after the ultrasonic machine stops. That change keeps the least visible work from being skipped.